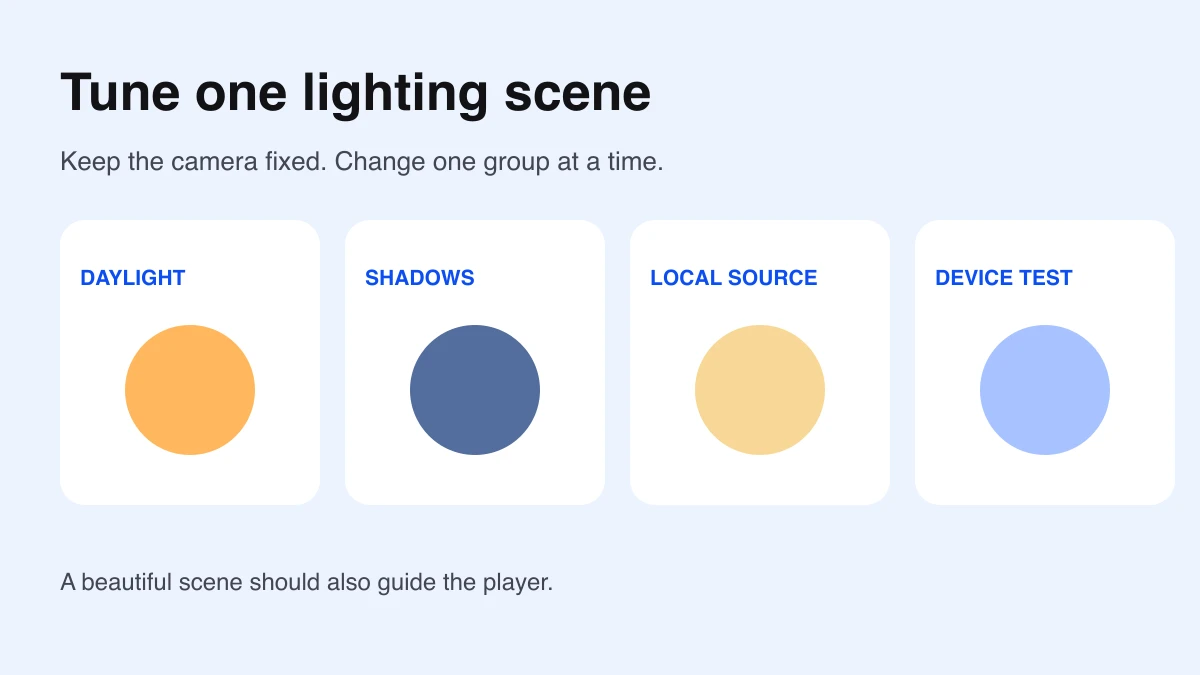
Start with a small scene, select Lighting in Explorer, and set LightingStyle to Realistic in Properties. Then tune the scene in a consistent order: daylight, shadow readability, one local light, and device checks. A renderer choice is a starting point; scene composition determines whether the result is useful.
Use the current lighting controls
Roblox’s global lighting guide describes Realistic and Soft as the two LightingStyle choices. PrioritizeLightingQuality controls whether lighting quality or view distance receives preference as rendering quality decreases. Choose it based on the scene’s needs and test the tradeoff.
Older tutorials may ask you to select Future or Unified under Technology. The Technology reference says that workflow has been superseded by LightingStyle and PrioritizeLightingQuality. Inspect current Properties instead of searching for a missing old dropdown.
Build a repeatable comparison scene
Use a small room with a window, a doorway, a table, and a floor. Put one matte object and one reflective-looking object on the table. Keep a fixed camera view that includes the window light, the objects, and the exit. Save the scene before changing lighting.
Write one visual goal: “the exit is easy to find while the window creates a clear light direction.” That goal makes your choices testable. A scene can look dramatic and still make the route difficult to read.
- Keep geometry, materials, and camera position unchanged.
- Record the starting lighting values.
- Change one group of settings at a time.
- Capture the same view after each change.
- Walk through the room before keeping the result.
Establish daylight before adding effects
Adjust ClockTime to choose the sun’s position for your scene. TimeOfDay is another representation of the same time setting. Keep the time fixed while comparing other lighting changes. Inspect whether the window gives you the direction you intended.
Use Brightness and ExposureCompensation carefully. Ambient affects the scene’s overall hue, while OutdoorAmbient affects outdoor lighting under the documented shadow conditions. Check both the bright window area and the darker route; a single exposure adjustment may help one while obscuring the other.
Record each change with its purpose. “Exit easier to recognize” is useful evidence. “More realistic” is too broad to explain why you kept the setting.
Keep shadows readable
GlobalShadows enables shadows. ShadowSoftness ranges from hard to soft edges and is documented for Realistic style. Compare a table leg, doorway edge, and object contact area from the same camera view.
Look for separation between the object and its surroundings. Avoid chasing the darkest possible shadow. Walk toward the exit and check whether important obstacles stay visible. Then inspect the same route from the opposite direction.
Add one local source with a clear purpose
Use a local source when a lamp, sign, or other object should visibly contribute light. The light-source guide describes PointLight, SpotLight, and SurfaceLight. Choose the type that matches the emission pattern you need rather than using the same type everywhere.
For this room, add one lamp near the table. Compare the table before and after enabling it. Tune its reach and intensity until it supports the scene without overpowering the daylight. Keep the local source count small while learning what each source contributes.
Roblox’s indoor lighting tutorial provides a complete reference scene. Use it to study how global light, local sources, materials, and reflections work together.
Run a device and quality comparison
| Check | Look for |
|---|---|
| Fixed camera comparison | Clear light direction and useful object separation |
| Player walkthrough | Readable exit, obstacles, and interaction points |
| Lower rendering quality | Route remains usable when visual detail scales down |
| Target device | Comfortable frame rate and consistent gameplay cues |
Test PrioritizeLightingQuality both ways in the same scene if the tradeoff matters to your game. Record the device and quality setting beside the screenshot. A desktop editor view alone cannot establish how the finished game behaves on a smaller or slower device.
Adding atmospheric feedback? Test one small effect with the dust particle burst guide, then compare its readability against the same lighting.
Apply the recipe to one more area
After the room passes, try the same approach in a second area with different materials or window placement. Keep the visual goal and comparison method, then adjust the values to that area. This gives you a consistent style without assuming one preset fits every environment.
For outdoor geometry, use the terrain seed planner to keep generation recipes organized. Refine surfaces with the terrain material guide. For atmosphere and threat cues, continue with the horror game guide. Documentation checked October 7, 2026.