What Is a Roblox Game Pass?
A Roblox game pass is a one-time purchase that permanently unlocks a benefit in a specific Roblox game. Unlike Developer Products — which can be bought repeatedly — a game pass is purchased once and applies to that player forever in your game.
Common game pass benefits:
- VIP access to exclusive areas or servers
- Permanent multipliers (2x coins, 2x XP)
- Exclusive pets, weapons, or cosmetic items
- Quality-of-life features (auto-collect, auto-farm)
- Ad-free or skip-queue access
- Extra inventory slots or storage space
Game passes are one of the most reliable monetization tools in Roblox because they represent permanent value to players. Someone who loves your game and plays it regularly will gladly pay once for a permanent advantage — and you earn from each sale indefinitely as new players discover your game.
How the Revenue Works
Roblox takes a 30% platform fee on all game pass sales. You keep 70% of the Robux price. Example:
- 100 Robux pass → you receive 70 Robux
- 500 Robux pass → you receive 350 Robux
- 1,000 Robux pass → you receive 700 Robux
These Robux can be converted to real currency through Roblox's Developer Exchange (DevEx) program at approximately $0.0035 per Robux. A game selling 1,000 copies of a 200 Robux pass earns 140,000 Robux ≈ $490 USD.
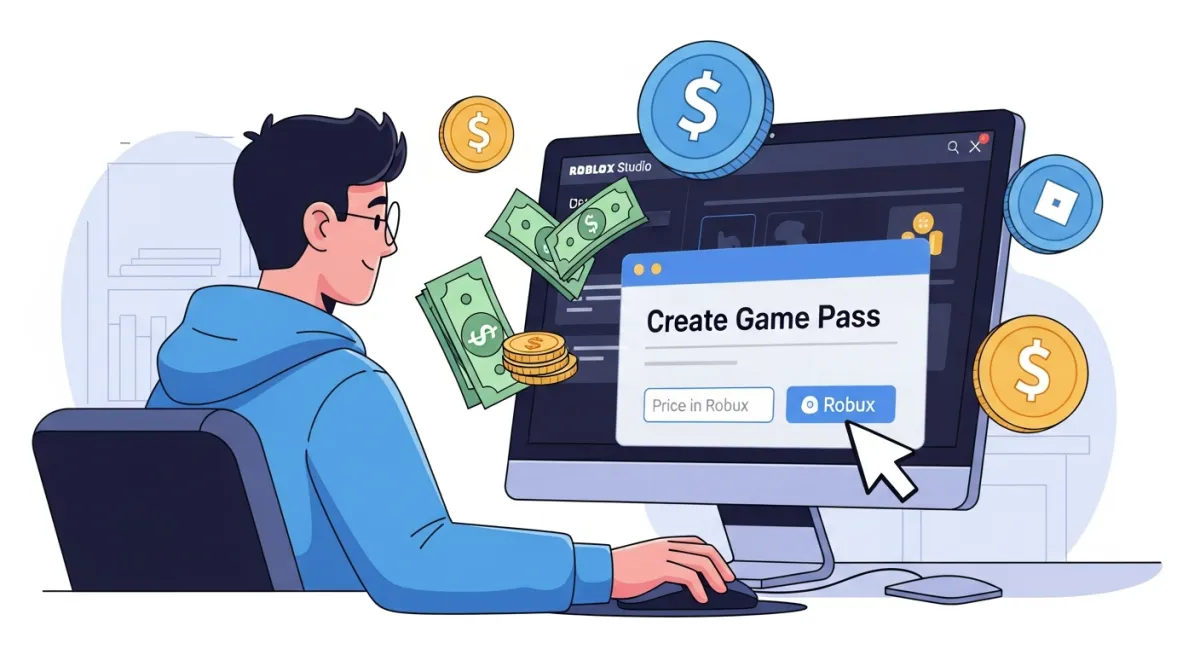
How to Create a Game Pass on Roblox: Step-by-Step
Step 1: Open the Creator Dashboard
Go to create.roblox.com in your browser and log in with your Roblox account. This is the developer hub where all game management happens.
Step 2: Select Your Game
In the left sidebar, click Creations. Find the game you want to add a pass to and click on it to open its management page.
Step 3: Go to Monetization > Passes
In your game's settings, look for the Monetization section in the left sidebar. Click on it, then select Passes. You'll see any existing passes and a button to create new ones.
Step 4: Create the Pass
- Click Create a Pass
- Upload an icon image for the pass (recommended: square, PNG, at least 150x150 pixels). Make it visually represent the benefit — VIP crown, coin multiplier icon, etc.
- Enter a clear, benefit-focused name. "VIP Pass" or "2x Coins Forever" works better than "Special Package."
- Write a description that clearly explains exactly what the player gets. Players need to know what they're buying before they buy.
- Click Verify Upload, then Save
Step 5: Set the Price and Enable Sales
After the pass is created, you'll see a Sales toggle and a price input field. Enter your price in Robux and toggle the pass to On Sale. The pass is now purchasable inside your game.
The pass won't appear or function in-game automatically — you still need to add the detection script (covered below).
Step 6: Add the Game Pass Detection Script
This is the critical step most tutorials gloss over. The Creator Dashboard creates the pass as a purchasable item, but you are responsible for writing the code that actually grants the benefit when a player owns the pass.
Add this script to ServerScriptService in Roblox Studio:
local MarketplaceService = game:GetService("MarketplaceService")
local Players = game:GetService("Players")

local PASS_ID = 123456789 -- Replace with your actual Game Pass ID

local function grantPassBenefit(player)
  -- Add your benefit logic here
  -- Examples:
  -- player.leaderstats.Coins.Value = player.leaderstats.Coins.Value * 2
  -- Give the player a special tool from ServerStorage
  print(player.Name .. " has the VIP pass — granting benefit.")
end

Players.PlayerAdded:Connect(function(player)
  local success, hasPass = pcall(function()
    return MarketplaceService:UserOwnsGamePassAsync(player.UserId, PASS_ID)
  end)

  if success and hasPass then
    grantPassBenefit(player)
  end
end)
Replace 123456789 with your actual Game Pass ID. Find this in the Creator Dashboard under your game's Passes section — it's in the URL when you view the pass, or listed in the pass details.
Step 7: Handle In-Game Purchase Prompts (Optional)
You can also let players purchase the pass without leaving the game. Add this to a LocalScript (for the UI button) paired with a server-side handler:
-- In a LocalScript (client side — triggers the purchase dialog)
local MarketplaceService = game:GetService("MarketplaceService")
local PASS_ID = 123456789

local buyButton = script.Parent -- Assuming script is inside a TextButton

buyButton.Activated:Connect(function()
  MarketplaceService:PromptGamePassPurchase(game.Players.LocalPlayer, PASS_ID)
end)
After purchase, Roblox fires MarketplaceService.PromptGamePassPurchaseFinished on the server so you can grant the benefit immediately without requiring the player to rejoin.
Game Pass Pricing Strategy
Pricing is both art and science. Here's a framework that works:
Price by Value Tier
- Cosmetic-only passes (25–99 Robux): Low-friction impulse buys. Hats, trails, custom name colors. Players buy these without much thought.
- Quality-of-life passes (100–300 Robux): The highest-converting tier. Auto-collect, skip ads, extra slots — real convenience that frequent players value.
- Multiplier passes (200–500 Robux): 2x coins/XP are perennially popular. Players can feel the value immediately every session.
- Premium passes (500–2,000 Robux): Access to exclusive content, significant power advantages. Reserved for your most dedicated players.
Use Multiple Tiers
Have at least 2–3 passes at different price points. A 50 Robux pass captures players unwilling to spend more; a 500 Robux premium pass captures your high-spending fans. Offering only one pass leaves money on the table at both ends of your player base.
Watch What Top Games Charge
Open the top games in your genre and look at their game pass prices. These prices have been battle-tested with millions of players. They're a solid baseline — don't undercharge thinking it'll drive more sales; often the opposite is true.
Best Practices for Higher Game Pass Revenue
Show the Value Difference In-Game
Don't just sell the pass in a menu — let non-pass players see and feel what they're missing. If the VIP area has better loot, make non-VIP players walk past the locked door. If the 2x coins pass exists, show side-by-side coin earning rates. Visible contrast drives conversions.
Build a Shop UI
Most players don't hunt through the Roblox website for passes. Create an in-game shop UI that displays all available passes with icons, descriptions, and prices. Use MarketplaceService:PromptGamePassPurchase() to open the purchase dialog directly in-game.
Run Limited-Time Discounts
Roblox doesn't have a built-in discount system for game passes, but you can create urgency through events: "Summer Sale — 50% off VIP this weekend!" Lower the price temporarily in the Creator Dashboard and announce it through in-game notifications or social channels.
Don't Make Passes Required for Fun
The best monetization doesn't make non-paying players feel excluded from the core gameplay — it makes paying players feel rewarded. If non-paying players have a genuinely good time, they stay longer, and some percentage will eventually convert to paying players.
Speed Up Pass Integration with AI
Writing game pass detection scripts, building shop UIs, handling purchase prompts, and rewarding players are all repetitive coding tasks. Obby can generate these systems automatically — describe your game pass setup and Obby writes the complete server-side detection, the in-game shop UI, and the benefit-granting logic, all wired together.


