What You Need Before You Start
Creating a Roblox game is more accessible than ever in 2026 — you don't need a computer science degree or years of coding experience to get started. Here's what you actually need:
- A Roblox account: Free at roblox.com
- Roblox Studio: The free development application, available for Windows and Mac
- A game idea: Even a rough concept is enough to begin
- Time and patience: Your first game will take longer than you expect, and that's normal
Optional but increasingly common: an AI game builder like Obby that handles much of the technical work while you focus on creative decisions.
Step 1: Download and Install Roblox Studio
Roblox Studio is the official free development environment for building all Roblox games. Every game on the platform — from simple obbies to simulator games with millions of daily players — was built here.
- Go to create.roblox.com in your browser
- Click Start Creating
- Download and run the Roblox Studio installer
- Launch Studio and log in with your Roblox account
Studio updates automatically, so you'll always have the latest version. It runs on Windows 7+ and macOS 10.13 (High Sierra) or later.
Step 2: Choose Your Starting Template
When you create a new place in Roblox Studio, you're given several starting templates. Choosing the right one saves hours of initial setup:
- Baseplate: A flat gray platform. The blank canvas — ideal if you want to build from scratch with maximum control.
- Flat Terrain: An open landscape with basic ground. Good for open-world games, adventures, or exploration games.
- Obby: A pre-built obstacle course with platforms and checkpoints. Perfect for quickly prototyping platform challenges.
- Racing: A track with vehicle physics already set up. Saves enormous time if you're building a racing game.
- Team vs Team: A competitive map with team assignment logic ready to go.
- Line Runner: An endless runner template with forward-scrolling mechanics.
If you're unsure, start with Baseplate. It gives you a clean foundation without assuming anything about your game's genre.
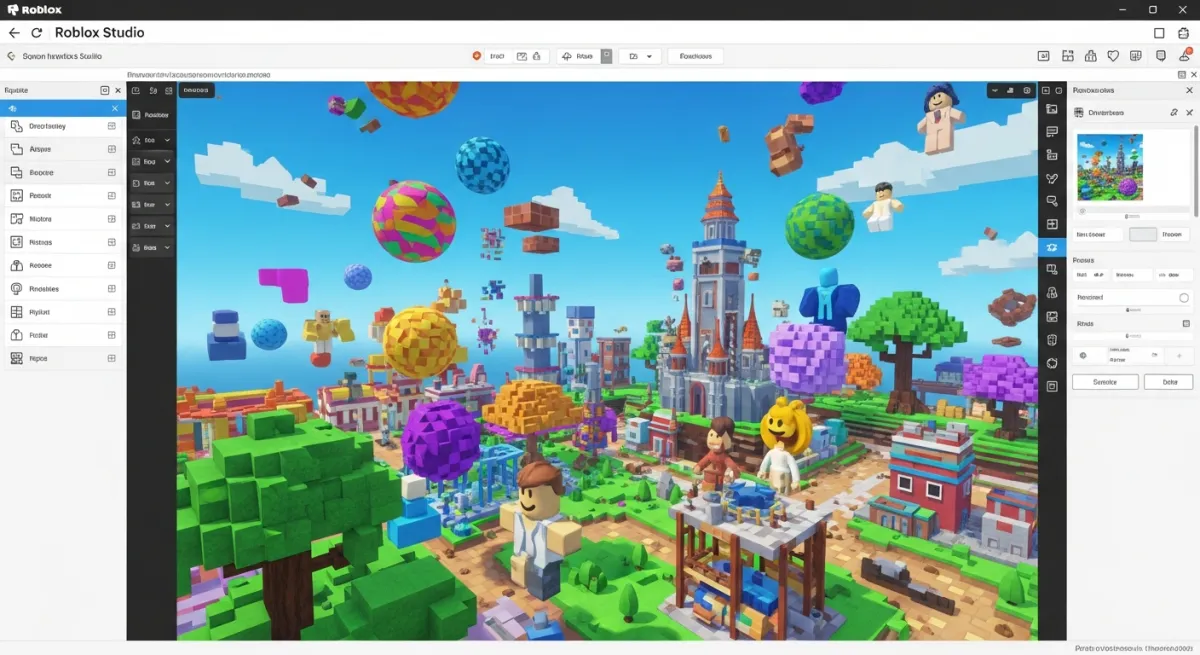
Step 3: Learn the Roblox Studio Interface
Before you start building, spend 15 minutes getting comfortable with the interface. The key panels:
- Viewport (center): Your 3D game world. Navigate with W/A/S/D + right-click to look around.
- Explorer (right panel, top): The hierarchy of every object in your game. Think of it as your game's file tree.
- Properties (right panel, bottom): Shows all attributes of the selected object — size, position, color, material, physics settings.
- Toolbox (left panel): Browse millions of free community assets, plugins, and models.
- Output (bottom): Shows script print statements and errors during playtesting. Keep this visible while testing.
The four most-used building tools (keyboard shortcuts: V, W, E, R):
- Select (V): Click to select objects
- Move (W): Drag to reposition
- Scale (E): Resize selected parts
- Rotate (R): Spin selected parts
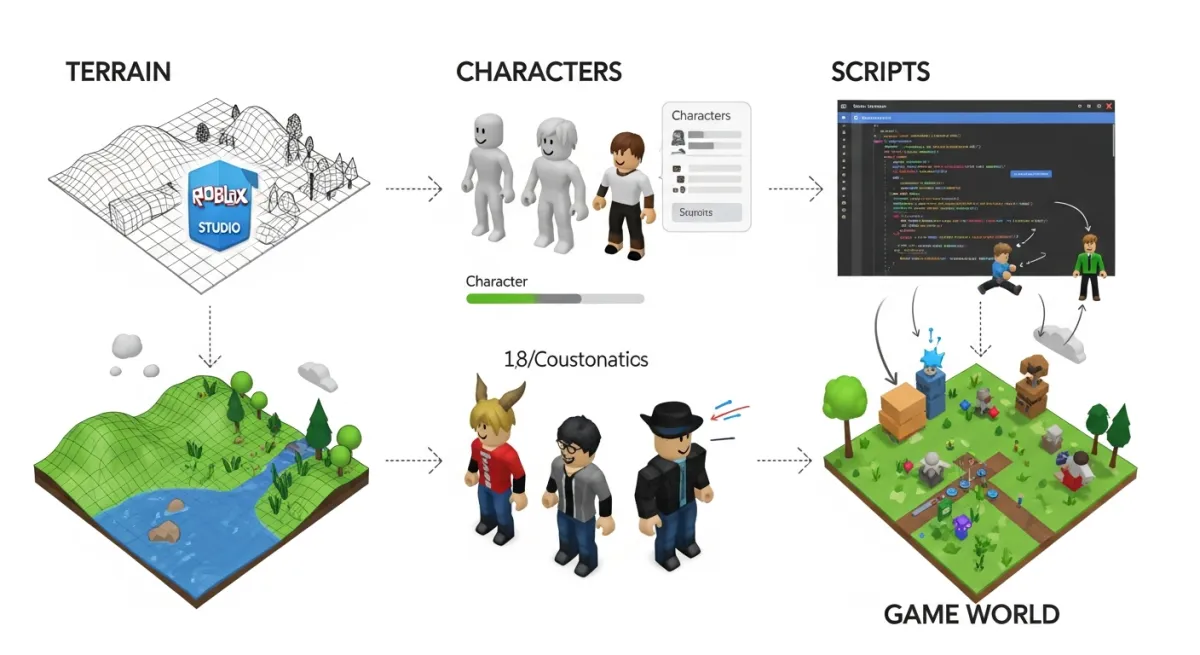
Step 4: Build Your Game World
Roblox's building system is based on Parts — 3D primitives (blocks, spheres, cylinders, wedges) that you combine to create environments. Here's how most developers approach world building:
Insert Parts
Right-click in the Viewport or go to the Model tab and click Part. A new block appears at the center of the screen. You can resize, move, and color it using the Properties panel.
Use the Terrain Editor for Landscapes
For natural environments, switch to the Terrain Editor (Home tab). You can paint terrain types (grass, sand, water, rock, snow), raise and lower ground, and generate smooth or blocky terrain automatically. This is dramatically faster than building terrain from individual parts.
Anchor Your Parts
One of the most common beginner mistakes: forgetting to anchor parts. Select a part, go to Properties, and check Anchored. Without anchoring, parts fall through the floor when the game runs because Roblox's physics engine simulates gravity on all unanchored parts.
Use Community Assets from the Toolbox
The Toolbox has millions of free 3D models — trees, buildings, vehicles, weapons, characters — contributed by the Roblox community. Using quality assets speeds up development dramatically. Search for what you need, hover over results to preview, and click to insert.
Step 5: Add Scripts to Make Your Game Interactive
A beautiful world without interactivity isn't a game — it's a diorama. Scripts are what make your game actually work. Roblox uses Luau (a typed variant of Lua) for all scripting.
Where Do Scripts Go?
- ServerScriptService: Scripts here run on the server and affect all players. Use for game logic, DataStore saves, game pass checks, combat damage — anything that must be secure.
- StarterPlayerScripts: Scripts run on each player's device when they join. Use for player-specific UI, camera control, and client-side effects.
- StarterGui: Contains UI elements (menus, HUD, shops) that copy to each player when they join.
How to Add a Script
- Right-click on ServerScriptService in the Explorer
- Select Insert Object
- Choose Script
- Double-click the new Script to open the code editor
A Simple Example: Kill Brick
Here's a script that kills any player who touches a part. Put this inside a Script object parented to the part:
local part = script.Parent

part.Touched:Connect(function(hit)
  local humanoid = hit.Parent:FindFirstChildOfClass("Humanoid")
  if humanoid then
    humanoid.Health = 0
  end
end)
Step 6: Set Up Core Game Systems
Most games need these fundamental systems beyond basic scripts:
- Leaderboard / Stats: Track points, coins, kills, or any custom metric visible to all players
- Spawn Points: Where players respawn after dying — drag a SpawnLocation part from the Model tab
- DataStore: Save player progress between sessions using
DataStoreService - Game Loop: A round timer, win condition, and reset sequence for competitive games
- Teams: Assign players to competing factions with different spawn points and colors
Building all these systems from scratch takes significant scripting effort. This is where an AI tool like Obby dramatically accelerates the process — it can generate these entire systems from a description in seconds.
Step 7: Playtest and Debug
Testing is how you find the gap between what you intended and what you built. Use Studio's built-in playtest modes:
- Play (F5): Test as a single player. The fastest way to check if something works.
- Play Here: Spawn your test character at your camera's current position — useful for testing specific areas.
- Team Test: Simulate multiple players joining simultaneously. Essential for multiplayer game testing.
Watch the Output window while testing. Every script error appears there with the script name, line number, and error message. Learn to read these — they're your most valuable debugging tool.
Step 8: Configure Game Settings
Before publishing, set up your game's metadata in Studio (File > Game Settings) and in the Creator Dashboard:
- Name: Choose something descriptive and searchable. Many players find games through search — your name matters for discovery.
- Description: Explain what your game is and what makes it fun. Use keywords players might search for.
- Genre: Roblox uses genre to recommend games. Choose the closest match.
- Icon: A square image (512x512 recommended). This is the first thing players see in search results.
- Thumbnails: Showcase gameplay. High-quality thumbnails dramatically improve click-through rates from the discovery page.
Step 9: Publish Your Game
- In Studio, go to File > Publish to Roblox As
- Fill in name, description, and genre if not already done
- Click Create
- Go to create.roblox.com, find your game, and set it to Public
Your game is now live and accessible to Roblox's hundreds of millions of players.
How Long Does It Actually Take?
Realistic timelines for first-time game creators:
- Simple obstacle course (obby): 1–3 days
- Basic competitive game with a leaderboard: 1–3 weeks
- A simulator or tycoon with save data and a shop: 1–3 months
- A full RPG with quests, combat, and progression: 3–12 months
With AI tools like Obby, these timelines compress significantly. What takes a beginner months can take days when AI handles the scripting and system building. You describe what you want, and Obby builds it.
Tips That Will Save You Hours
- Save constantly: Use Ctrl+S and also File > Publish regularly. Studio can crash and your work may not auto-save.
- Start smaller than you think: Scope is the silent killer of first games. Build a version that's 20% of your original vision, launch it, then expand based on player feedback.
- Organize the Explorer from day one: Use folders to group related parts and scripts. A disorganized Explorer becomes a nightmare once your game grows.
- Playtest frequently: Don't spend two weeks building before you first hit Play. Test after every significant change.
- Join the DevForum: devforum.roblox.com is the best community resource for answers, feedback, and staying updated on platform changes.


