Open Terrain Editor and choose the operation that matches your edit. Use Paint for a local brush change. Use Fill → Replace when you want to replace a particular material inside a selected region. Set the source to the material you already have and the target to the material you want.
Pick a local edit or a region replacement
| Task | Tool | Key check |
|---|---|---|
| Paint a small sandy edge | Paint, Paint mode | Brush footprint and chosen material |
| Change one material under the brush | Paint, Replace mode | Source and target |
| Replace grass throughout a bounded patch | Fill, Replace mode | Region bounds, source and target |
The Terrain Editor reference documents these modes. Fill mode fills the selected region with its chosen material; Replace mode targets an existing material. Check the mode before applying an edit near a playable route.
Paint a small area first
- Open Terrain Editor from Home or Window → 3D.
- Choose Edit → Paint.
- Choose Paint mode and the material you want.
- Use a small brush for one short test stroke.
- Inspect the result before extending the stroke.
For a shoreline, work on a short section where the boundary is easy to see. Use that section to choose the transition style before repeating it around the whole island. Keep the camera angle and lighting consistent when comparing versions.
If the brush reaches too far, reduce its size and make another short stroke. If placement feels unpredictable, inspect its plane settings with the terrain brush orientation guide.
Replace grass with sand in a selected region
- Save a working copy of the place.
- Select a compact terrain region containing the grass patch.
- Choose Fill and switch its mode to Replace.
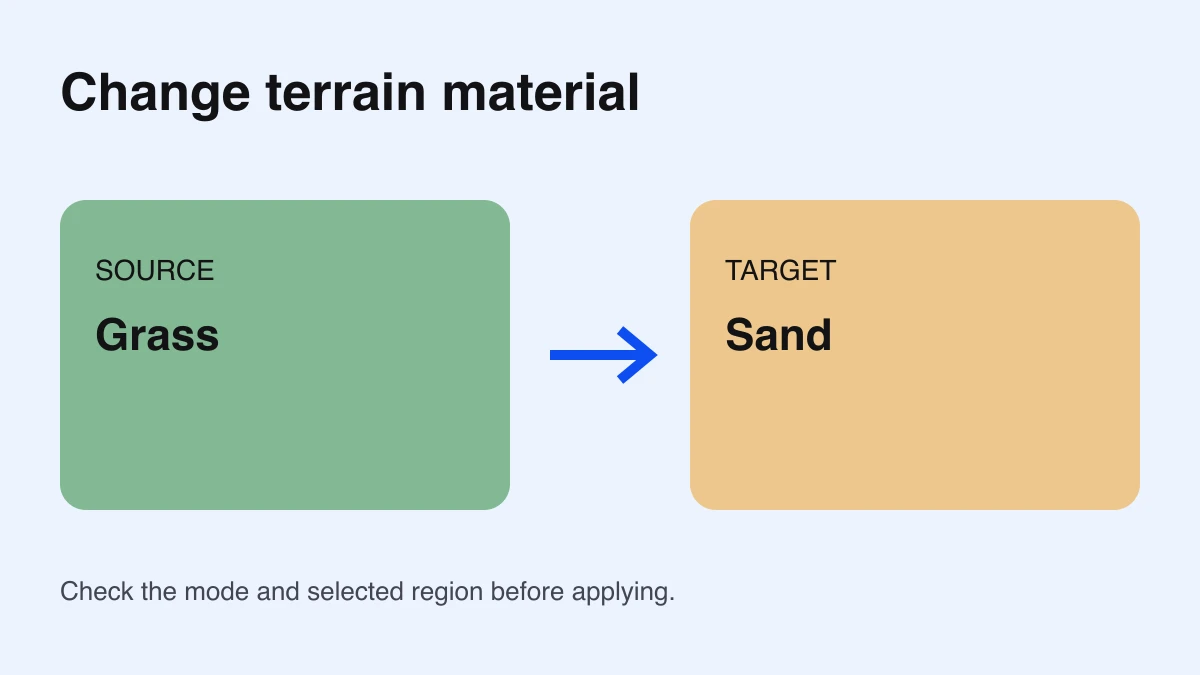
- Set Source Material to Grass and Target Material to Sand.
- Inspect the region’s position and dimensions.
- Apply the replacement and compare the patch with its surroundings.
Include a second, clearly different material in your practice patch. The useful check is that the grass changes while the other material remains. If your patch contains no grass, a Grass-to-Sand replacement has nothing to target. Read the selected materials again before widening the region.
Keep the source and target straight
Write the operation as an arrow: Grass → Sand. The left side is the source; the right side is the target. Reversing the fields reverses the intended change. For a larger project, record the patch location and the arrow before applying the edit.
Use one material change at a time. Replacing several materials without checking each result makes it difficult to identify which step caused an unexpected boundary. Keep a reference copy until the route looks and plays correctly.
Check the result from a player’s viewpoint
Inspect the patch from above, from the side, and at the player’s camera height. Look for a readable boundary and a consistent route. Then walk through the area. The terrain change should support the scene without making the intended path harder to recognize.
For a beach prototype, test one approach from the grass to the sand and one approach back. Check whether the player can tell where the route continues. A beautiful overhead view is only one part of the result.
Comparing generated maps before painting? Use the terrain seed planner to record settings and playtest notes.
When nothing seems to change
- Wrong source: verify the material already present in the patch.
- Wrong region: inspect selection position and size from another angle.
- Wrong mode: confirm Paint or Replace before retrying.
- Brush placement issue: inspect footprint and plane controls.
- Editing a Part: confirm the surface is terrain; Parts use their own material and texture workflow.
For flat Part surfaces, use the baseplate texture guide and tile calculator. For broader Studio inspection, see the workspace guide. Documentation checked October 7, 2026.