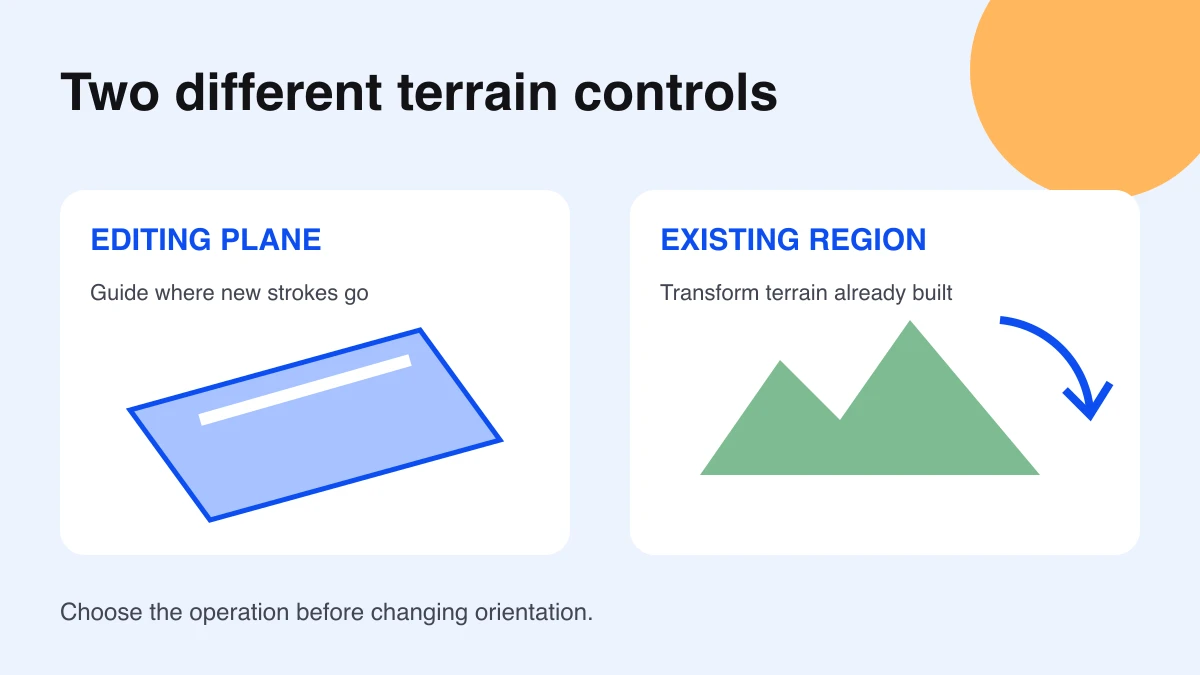
Choose the control based on what you want to change. For brush work, the Terrain Editor exposes Plane Lock and a manually editable plane. For terrain you already created, select a region and use Transform to change its orientation. The current reference documents these controls separately; it does not list an independent brush-rotation field.
Decide what needs to rotate
“Rotate the brush” can mean changing the surface you work along, turning a patch you already sculpted, or reshaping a stamp. State the result you need before adjusting controls. For example: “draw along a tilted plane” and “turn this hill sideways” are different editing tasks.
| Goal | Control to inspect |
|---|---|
| Guide strokes along a chosen plane | Plane Lock → Manual → Edit Plane |
| Rotate existing terrain | Select region → Transform |
| Change the footprint of a stroke | Brush shape and size |
Orient a locked editing plane
In a brush tool such as Draw, inspect Plane Lock. Auto follows the camera’s orientation. Manual exposes Edit Plane so you can set the plane with draggers or X/Y/Z inputs. These are plane controls; check the resulting stroke before assuming they rotate a particular brush shape.
Use a small practice area away from your playable route. Make one short stroke with an easily recognized material. Change the plane orientation, then make another stroke beside it. Compare where the strokes lie rather than judging only the brush preview.
If the result changes when you move the camera, inspect whether the plane is still in Auto mode. Keep the brush size and material unchanged while comparing plane settings. That makes the effect of the plane easier to see.
Rotate a region you already made
Select the terrain region, then choose Transform. Its rotation rings and numeric X/Y/Z rotation inputs operate on the selection. Check rotation snapping. For a wireframe preview, disable Live Edit and apply after inspection. Merge Empty determines whether selected air overwrites terrain at the destination.
Review the Terrain Editor reference before transforming a populated area. Save a working copy first. Start with a compact region containing one distinctive ridge so you can recognize its orientation afterward.
- Inspect the region’s bounds and surrounding terrain.
- Preview a quarter turn around the intended axis.
- Check the destination for overlaps and unwanted gaps.
- Apply the change and inspect from above and the side.
- Playtest the nearby route before keeping the edit.
An edit that looks attractive from above can introduce a steep edge along the player’s path. Walk across the join and check it from the player’s camera height. Adjust the transition deliberately rather than repeatedly rotating a large selection.
Practice with one ridge and two strokes
Create a small test patch containing one ridge. Make two short strokes to compare plane orientation, then transform only the ridge’s region. Write down which operation changed future stroke placement and which changed existing geometry. Keep the test patch until that distinction feels predictable.
For more context, the environmental terrain guide explains voxel-based editing and region operations. Use a small brush for the final join, then inspect the route again. Terrain appearance and playable movement both matter.
Changing the surface rather than its orientation? Follow the terrain material guide for Paint and Replace workflows.
Check the common sources of confusion
- Camera changes the working plane: inspect Auto versus Manual Plane Lock.
- Existing hill stays put: a brush-plane adjustment changes the editing setup; select and transform the hill’s region.
- Unexpected destination gaps: review the selected bounds and Merge Empty behavior.
- Rotation jumps: inspect the rotation snapping setting.
- Stroke is too broad: reduce brush size and compare another short stroke.
Keep a reference copy of the small patch so you can compare edits. For Parts rather than terrain, see duplicating and moving Parts. For flat platform surfaces, see baseplate textures. Documentation checked October 7, 2026.