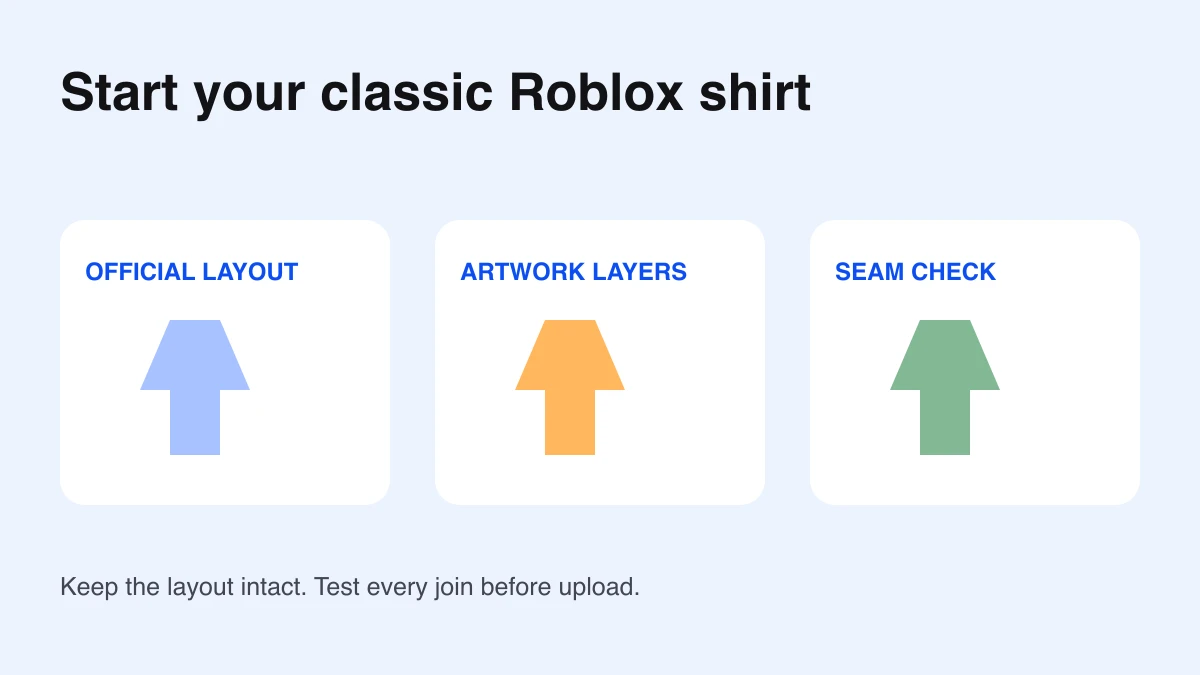
Start with Roblox’s official classic clothing template. A classic shirt wraps the torso and arms, so its image contains several body panels rather than one front-facing picture. Keep the layout intact, put your artwork on separate layers, and inspect the seams before uploading.
Download the official template
Download Roblox’s official classic clothing template ZIP. The package linked by Roblox’s classic clothing guide contains Template-Shirts-R15.png and Template-Pants-R15.png. Extract it and choose the shirt file for this workflow.
Keep an untouched copy of the download. Make a working document in your image editor and name it by garment and revision. A reference copy makes it easier to spot accidental resizing or missing guide regions later.
Choose a classic shirt, not a T-shirt graphic
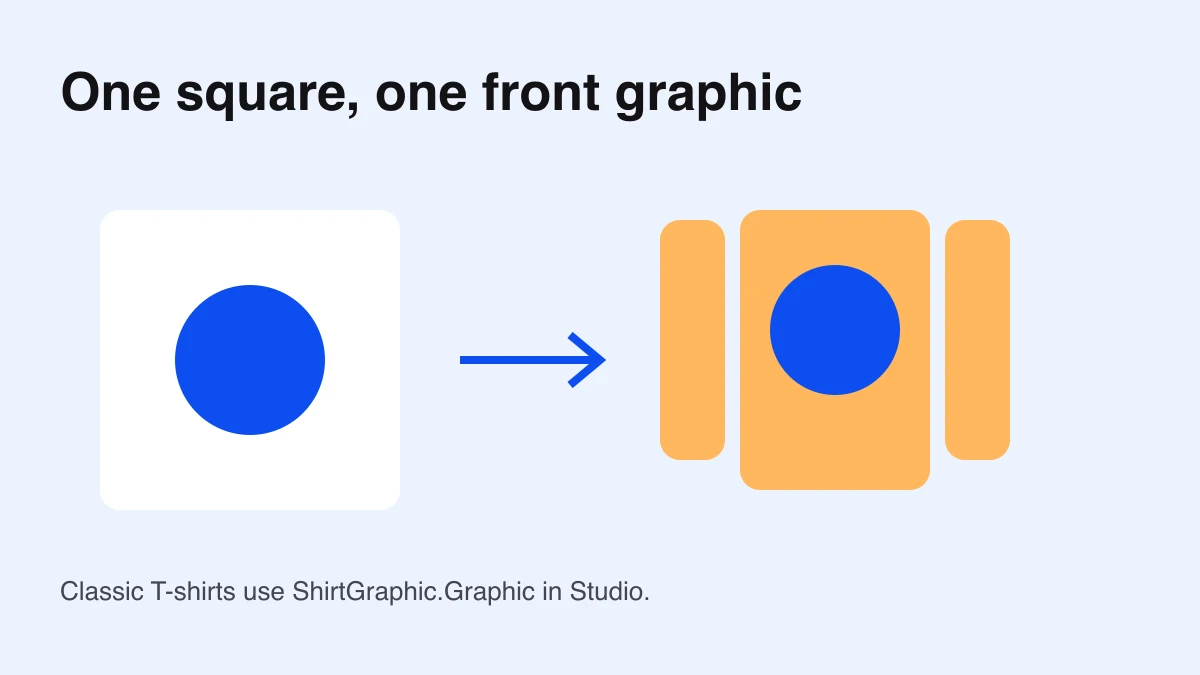
Classic shirts wrap around the torso and arms. Classic T-shirts are a square image displayed on the front torso. They use different formats and objects. Choose the garment type before creating the image; a front graphic cannot replace the wraparound shirt layout.
Modern layered clothing is another workflow. If your goal is a 3D jacket that changes shape around a body, this classic image template is only the wrong starting format. Match the asset type to what you want the avatar to wear.
For a front-only graphic, use the classic T-shirt canvas and Studio guide.
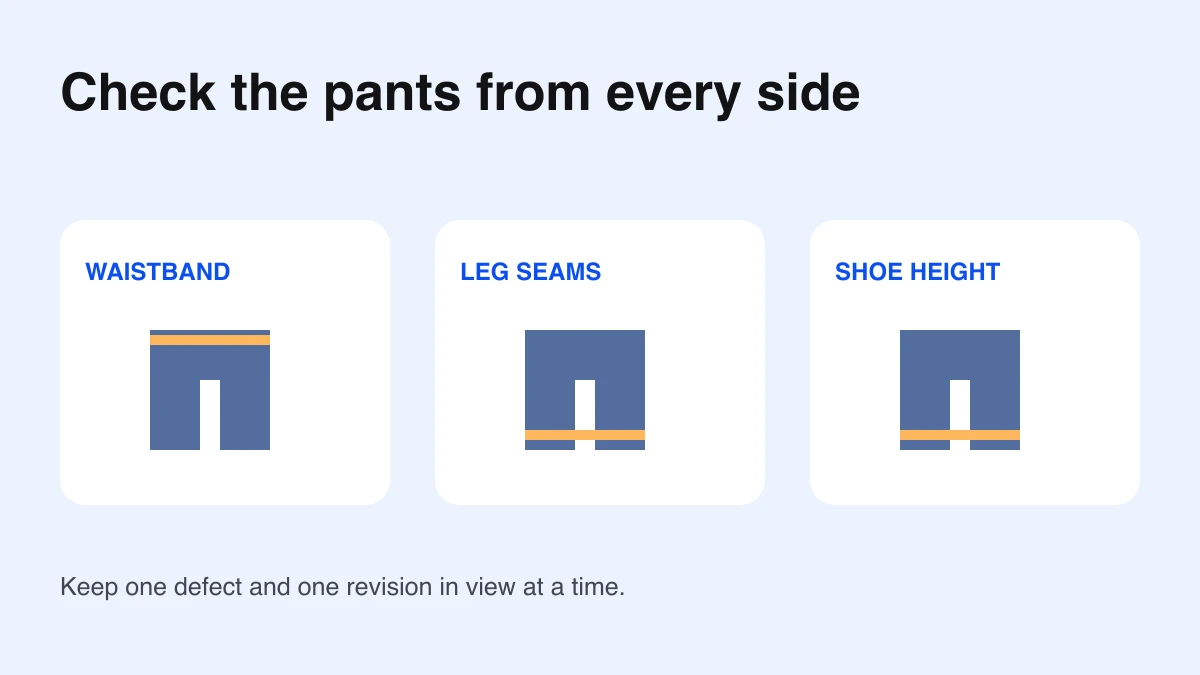
For the matching lower garment, use the pants template and seam-check guide.
Read the panels before drawing
The official guide identifies 128×128 front/back panels, 64×128 tall panels, 128×64 top/bottom torso panels, and 64×64 limb caps. Treat every edge as a join to another face. Draw a simple recognizable marker in your working copy to learn which panel appears where, then remove it from the final art.
For a first design, use one base fabric color, one front symbol, and a clear sleeve cuff. Avoid detailed text crossing a seam until you understand the orientation. A small, simple design exposes mapping mistakes more clearly than a full patterned garment.
Keep guides and garment art separate
- Place the template on a reference layer.
- Add artwork on separate layers without moving the panel layout.
- Align fabric transitions at each adjoining edge.
- Hide the reference labels and guide colors before export.
- Save the layered document and export a separate image.
Use a bright temporary background to inspect transparent openings, then hide it for the final PNG. Follow the transparent clothing guide for alpha and export checks. Preserve the official canvas rather than cropping it to the visible garment.
Preview the shirt from four sides
Load the exported layout into the local clothing tester. Inspect the front, back, sides, and sleeve edges. The tester expects the 585×559 classic layout and provides a block-avatar approximation; it does not simulate moving joints or every avatar body.
Write one defect per revision: “left sleeve cuff is one panel too high” or “back symbol is mirrored.” Fix that issue in the layered source and load the new export. Compare the same view before and after, keeping other design choices unchanged.
Verify on a supported rig in Studio
The current official workflow uses Avatar → Character → Block Avatar. Insert a Shirt beneath the rig, select it, and assign the uploaded image through ShirtTemplate. Check the intended body and movement before selling. Some user-generated avatar bodies do not support classic clothing.
Pay special attention to sleeve joins, shoulders, and the waist. A static browser view can help you locate a panel problem, while the Studio test establishes how the actual garment behaves. Keep the exported filename and asset reference beside your test notes.
Prepare the upload deliberately
Review the current creator requirements and charges in Roblox’s documentation and upload form. Test the design before submitting another revision. The creator cost guide distinguishes classic clothing from 3D avatar-item budgets.
Before upload, check that the source template dimensions remain intact, guide labels are hidden, the garment type is correct, and the design belongs to you or is permitted for your use. Then record the item name and revision so you can identify the upload later.
Fix the most common template mistakes
- Art appears on the wrong face: compare the panel against the official labeled reference.
- Visible guide colors: hide the reference layer and export again.
- White transparent areas: inspect PNG alpha and the export background.
- Seams do not match: compare adjoining panels using the same avatar view.
- Wrong garment type: distinguish a classic shirt from a T-shirt graphic.
Use the official template as the mapping reference and keep a layered source for revisions. Documentation and download package checked October 7, 2026.