A transparent Roblox clothing template needs two things: the correct classic clothing layout and an exported image whose empty areas remain transparent. A checkerboard drawn into a picture is not transparency. Start with the official template, work on separate art layers, and export a PNG with its alpha channel intact.
Get the correct starting layout
Use the shirt or pants template supplied in Roblox’s classic clothing guide. A classic shirt wraps the torso and arms; classic pants wrap the torso and legs. Keep the original canvas dimensions when editing. Do not resize an unrelated image and assume that it now maps to the avatar.
Classic T-shirts use a different front-torso image format. This guide is for wraparound shirts and pants, not layered 3D clothing. Many newer avatar bodies do not support classic clothing; choose a supported test rig before assessing the design.
Separate guides from artwork
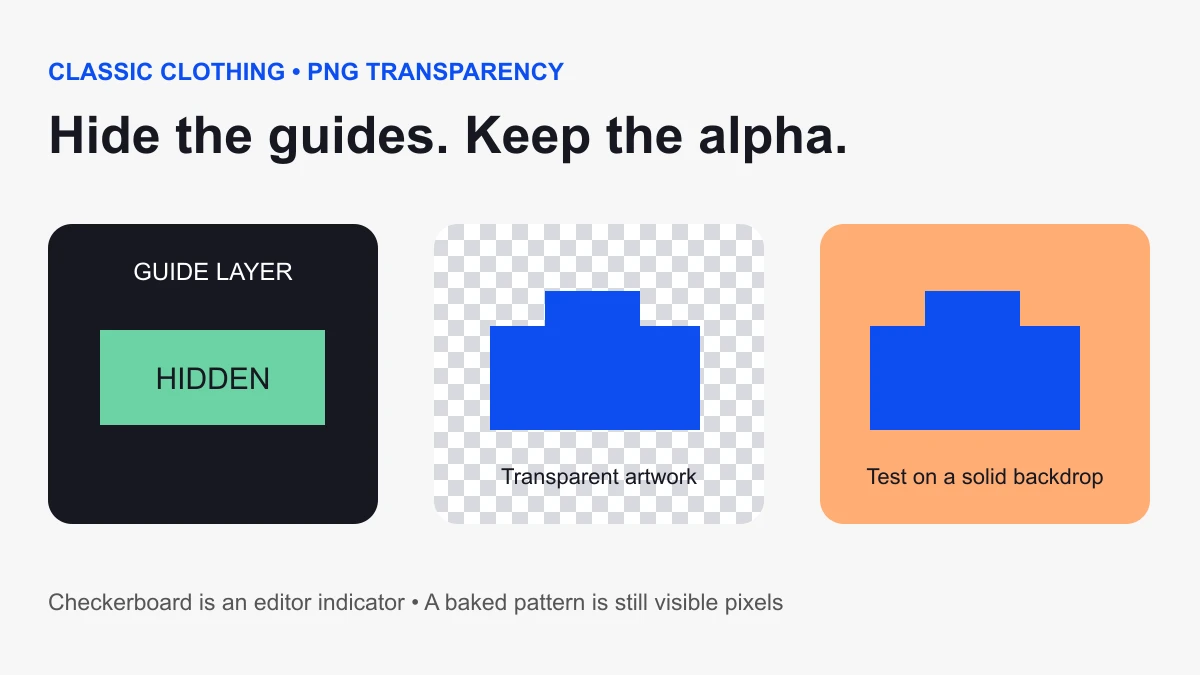
Keep the colored layout reference on a guide layer. Put your garment artwork above it, and keep the guide visible while aligning the edges. Before exporting, hide the reference layer and inspect the canvas again. Labels, arrows, and colored panels that remain visible in the exported file can become part of the garment.
Save the layered editor document separately from the exported PNG. Name the files by garment and revision, such as courier-shirt-v3. The layered source helps you adjust one seam without rebuilding the whole design.
Check real transparency before upload
PNG supports an alpha channel; JPEG does not. For an image that needs transparent regions, choose PNG and avoid an export option that flattens the work onto a white background.
In your editor, place a temporary bright background beneath the art. If empty areas reveal that background, the art layer has transparency. Hide the temporary background before exporting. Reopen the exported PNG and repeat the check; this catches settings that changed during export.
A useful diagnostic is a small transparent opening next to a solid patch. If both look white after reopening, investigate the export. If the opening reveals the test background but the garment has a white edge, inspect the edge pixels rather than deleting every white pixel in the image.
Use transparency deliberately
Transparent pixels expose what is underneath the clothing texture. They do not create a new garment shape or replace avatar geometry. Plan where the opening belongs and inspect it on the intended body. A neckline that looks tidy in the flat image can stretch differently around a joint.
Do not remove a background by deleting all pixels of one color unless that color appears nowhere in the actual garment. White buttons, highlights, and fabric can disappear along with a white guide background. Layer separation is easier to review than broad color deletion.
Preview the mapped regions and seams
Load the exported PNG into our classic Roblox clothing tester. Compare front, back, and both sides. Hide the arms when inspecting the torso sides. The full source image remains visible so you can connect an unexpected patch to its layout region.
The browser preview is a block-avatar approximation. It helps inspect orientation and obvious alignment; it does not certify avatar compatibility, moderation, or exact Studio rendering. Verify the garment in Studio before uploading it for sale.
For a first review, choose one seam. Compare the color and line position on the two neighboring regions. Fix that seam, export a new revision, and compare the same camera angle. Changing every edge at once makes it harder to identify which adjustment helped.
Validate the exported file in Studio
Roblox recommends a Studio test before selling classic clothing. Add the appropriate Shirt or Pants object to a Block Avatar rig and apply the image through ShirtTemplate or PantsTemplate. Check the front, back, joints, and transparent openings from the intended camera distance.
Record the rig used, the exported revision, and any issue still visible. Keep fit checks separate from upload fees and eligibility; our upload-cost guide covers those requirements.
Diagnose the common failures
- Checkerboard appears on the avatar: the pattern may be baked into the image. Reopen the export over a solid background.
- Guide colors appear: hide the template reference layer before exporting.
- Everything is opaque: confirm PNG format and export alpha settings.
- Wrong regions are decorated: compare the artwork against the official shirt or pants layout.
- Preview looks fine but Studio differs: inspect the selected rig, applied image reference, and joint areas.
Use the official reference as the layout source and keep your garment artwork original or properly licensed. Workflow checked October 6, 2026.