Budget uploading and publishing separately
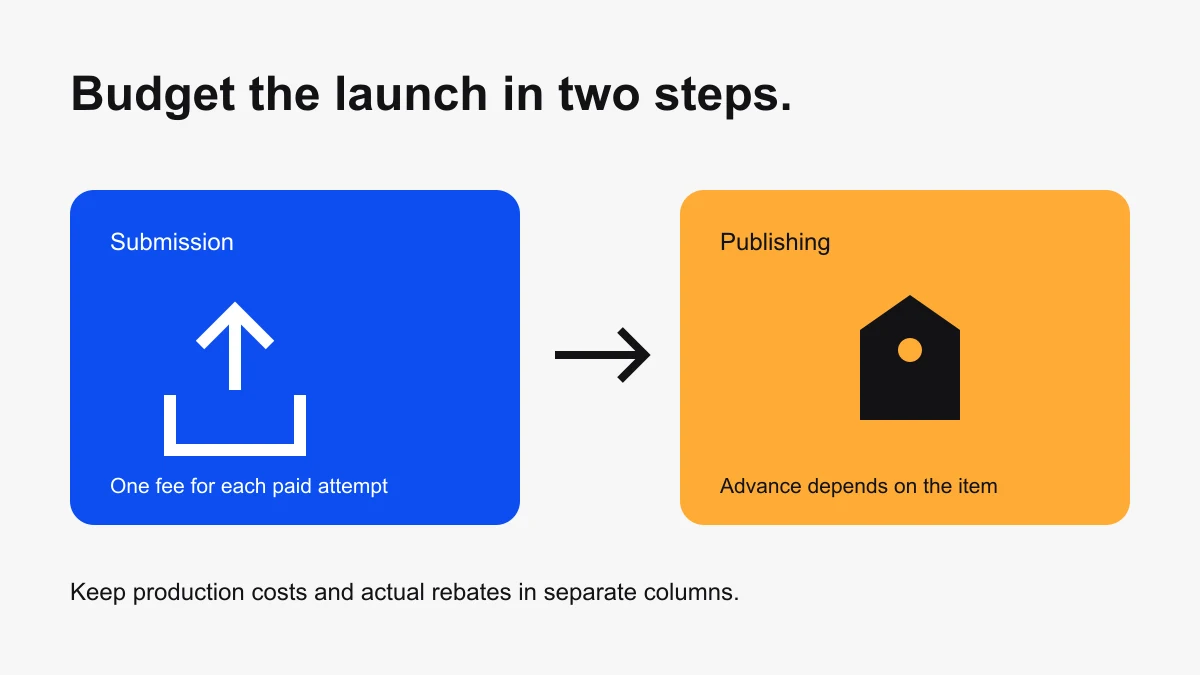
Roblox currently lists an 80 Robux submission fee for avatar assets, or 500 Robux for an emissive-mask item. Publishing adds an asset-dependent advance. A standard non-Limited hat has a 1,500 Robux advance, hair 1,000, and a jacket 600. Check the official fee schedule and the amount shown before confirming your submission.
That makes a standard non-Limited hat example 1,580 Robux upfront for one submission and one publishing advance. This is a fee calculation, not a total business budget or an earnings prediction.
Use the free UGC cost calculator to adjust item counts, paid submission attempts, and advances, then download your budget as CSV.
Three example launch budgets
| Item | Submission | Advance | Upfront total |
|---|---|---|---|
| Hat | 80 | 1,500 | 1,580 Robux |
| Hair | 80 | 1,000 | 1,080 Robux |
| Jacket | 80 | 600 | 680 Robux |
The fee schedule is the source for these assumptions. They exclude subscriptions, modeling, revisions, and promotion.
An advance is money you need before sales
Roblox describes the publishing advance as rebatable through sales under its revenue-share rules. Do not treat it as immediately returned cash. Submission fees generally are not refunded after moderation rejection. Free Limiteds use a per-unit fee instead of this advance; emissive items have different costs.
For your own worksheet, keep two columns: cash required now and cash actually received later. Put an advance in the first column when paid. Enter a rebate in the second only when it appears in your transaction record. This prevents an optimistic assumption about future sales from hiding a shortage today.
Build a budget around attempts, not only finished items
Imagine you plan three standard hats and each takes one paid submission. The worksheet total is 3 × 1,580 = 4,740 Robux. If you budget two submissions per hat instead, submission costs become 3 × 2 × 80 = 480 Robux. Add three advances of 1,500 and the scenario becomes 4,980 Robux.
Those are planning scenarios. They do not predict rejection rates or establish that a revision will always trigger a specific charge. Check the actual workflow before each payment and record what was charged. Do not assume every iteration is free or every submission becomes a published product.
Check eligibility before paying for production
The Marketplace policy distinguishes upload eligibility, publishing eligibility, and keeping an item on sale. It lists account verification, two-step verification for publishing, and qualifying Roblox Plus or Premium 1000/2200 subscriptions for the individual creator or group owner. Review the current rules for the identity that will publish.
Choose the publishing account or group before commissioning a finished asset. Write down who owns the source files, who can edit them, and who will handle revisions. An artist delivering a model and an account being eligible to sell it are separate milestones.
Working on classic shirts or pants? Start with the transparent clothing layout and PNG export guide, then Preview the template on a block avatar before verifying it in Studio. Classic clothing and 3D avatar items have different workflows and fee models.
Production costs belong in their own section
- Modeling: your time or an agreed contractor quote.
- Technical preparation: fitting, texture work, and validation fixes.
- Presentation: thumbnail creation and listing copy.
- Administration: subscription costs and transaction reconciliation.
- Promotion: a bounded experiment with a spend cap.
Use actual quotes and recorded time rather than a universal “UGC costs this much” number. A creator making one accessory for practice has a different budget from a team commissioning a coordinated collection. Keep the platform-fee calculation narrow enough that you can inspect every assumption.
Upload approval and listing are different steps
Roblox’s publishing workflow separates Studio validation and moderation from configuring and publishing a Marketplace listing. Track each item through those stages instead of labeling an uploaded file as already on sale.
Use a small launch sheet: item name, asset type, creator identity, source-file location, validation result, paid submission count, moderation result, listing status, and actual fee. Add a link to the asset when available. Our asset-ID parser can extract an ID from a supported Roblox URL; it does not confirm approval or selling eligibility.
What to review after launch
Compare the budget with actual charges before expanding your collection. If production took longer than expected, identify the specific revision rather than blaming the whole category. If you received few sales, do not assume that paying a larger advance would fix discovery. Evaluate the product, presentation, and audience separately.
For the broader creator workflow, read the monetization hub and the analytics guide. Obby’s browser game-prototyping workflow does not publish avatar items to the Marketplace.
Fee assumptions checked October 6, 2026. Roblox may change rates and requirements; verify the official schedule and final confirmation screen before spending.