Use the official classic pants template for a garment that wraps the torso and legs. Keep its panel layout intact, design the waistband and leg joins deliberately, and check the result from several sides before uploading.
Download the official pants layout
Download Roblox’s classic clothing template ZIP and extract Template-Pants-R15.png. Roblox’s classic clothing guide links this package. Keep an untouched reference copy and preserve the canvas when making your working document.
A square front graphic belongs to the T-shirt workflow. For torso and sleeves, use the classic shirt template. Choose the pants file before drawing so you can place details on the intended regions.
Plan the waist before decorating the legs
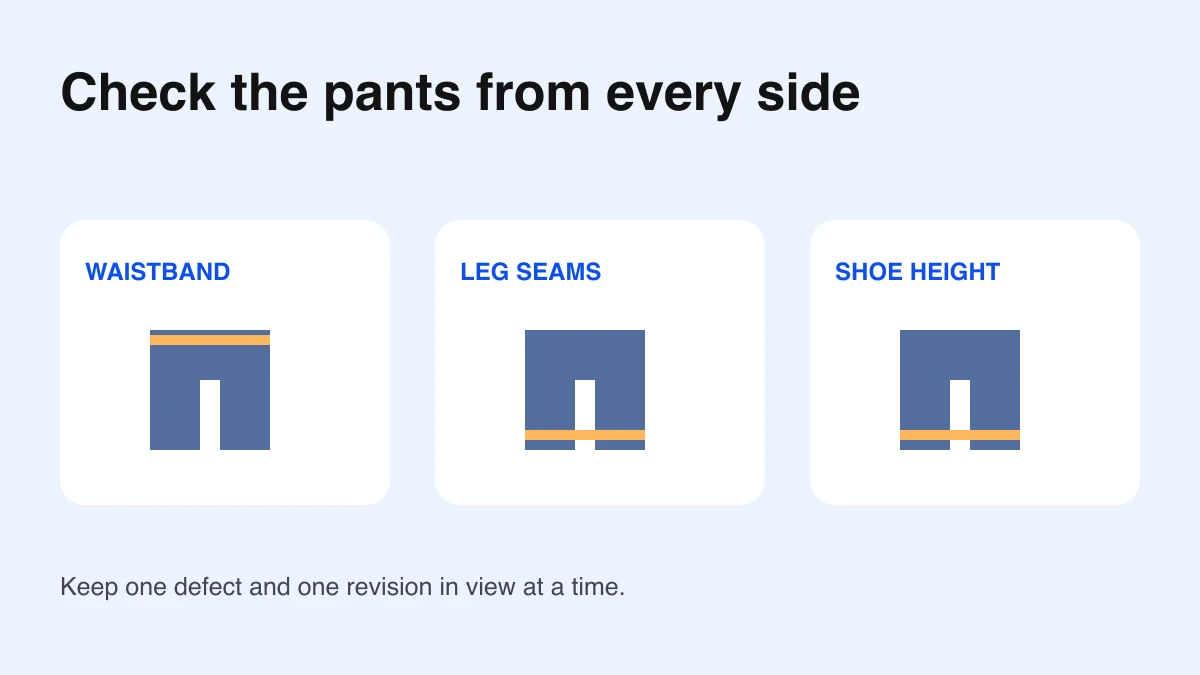
Start with one base fabric color and a simple waistband. Look at the front, side, and back panels in the reference. A belt or horizontal stripe should meet consistently as the avatar turns. Put decorative pockets on their own layers so you can reposition them after a preview.
For your first exercise, design plain trousers with one waistband and one contrasting cuff. Delay small buckles, fine stitching, and complicated patterns until those two features align. This makes mistakes easier to identify.
Match the adjoining leg panels
Give the left and right legs clear working labels in your editor, then hide the labels before export. Compare the height of each cuff and the direction of any stripe. Follow the reference labels for front, back, and sides instead of assuming adjacent rectangles face the same way.
Use a temporary color marker on a test revision if you are unsure which face you are editing. Preview it, note where it appears, then remove the marker from the garment art. Keep the original layout reference separate from your artwork.
Keep shoe art near the bottom
The official guide illustrates shoe art near the bottom of leg regions. Extending it too far upward can blur the distinction between shoes and trousers. Compare the shoe top and trouser hem from the front and sides rather than judging only the flat image.
If the outfit needs a tall boot, make that choice deliberate and inspect the joint area carefully. For a simple first test, use a short shoe region with a distinct upper edge. Avoid adding several new details while troubleshooting the hem.
Preview with and without the matching shirt
- Export the pants image while retaining the official layout dimensions.
- Load it into the clothing tester as pants.
- Rotate through front, side, and back views.
- Add the intended shirt and compare the waist transition.
- Return to the source and fix one seam per revision.
The browser tester expects the 585×559 classic layout and approximates a block avatar. It helps locate panel mistakes but does not simulate moving joints or every avatar body. Keep a note of which view revealed each defect.
For transparency, follow the PNG alpha and guide-layer checks. A visible checkerboard baked into the image is artwork, not transparency.
Verify the pants on a supported Studio rig
The current official test workflow uses Avatar → Character → Block Avatar. Insert Pants beneath the rig and apply the uploaded image through PantsTemplate. Inspect the intended body and movement before selling; some avatar bodies do not support classic clothing.
Walk through your check in a consistent order: waist, front legs, outside seams, back legs, and shoe edges. Then compare the outfit during movement. Record the garment revision and image reference so you can reproduce the test.
Prepare a reviewable final export
- The canvas and panel layout still match the official file.
- Reference labels and temporary markers are hidden.
- The waistband and cuffs align across adjoining faces.
- Shoe placement has been checked from several directions.
- The intended shirt and pants combination has been tested.
Review current creator requirements, moderation, and charges before upload. Use the creator cost guide to distinguish classic clothing from 3D avatar-item budgets. Documentation and official package checked October 7, 2026.