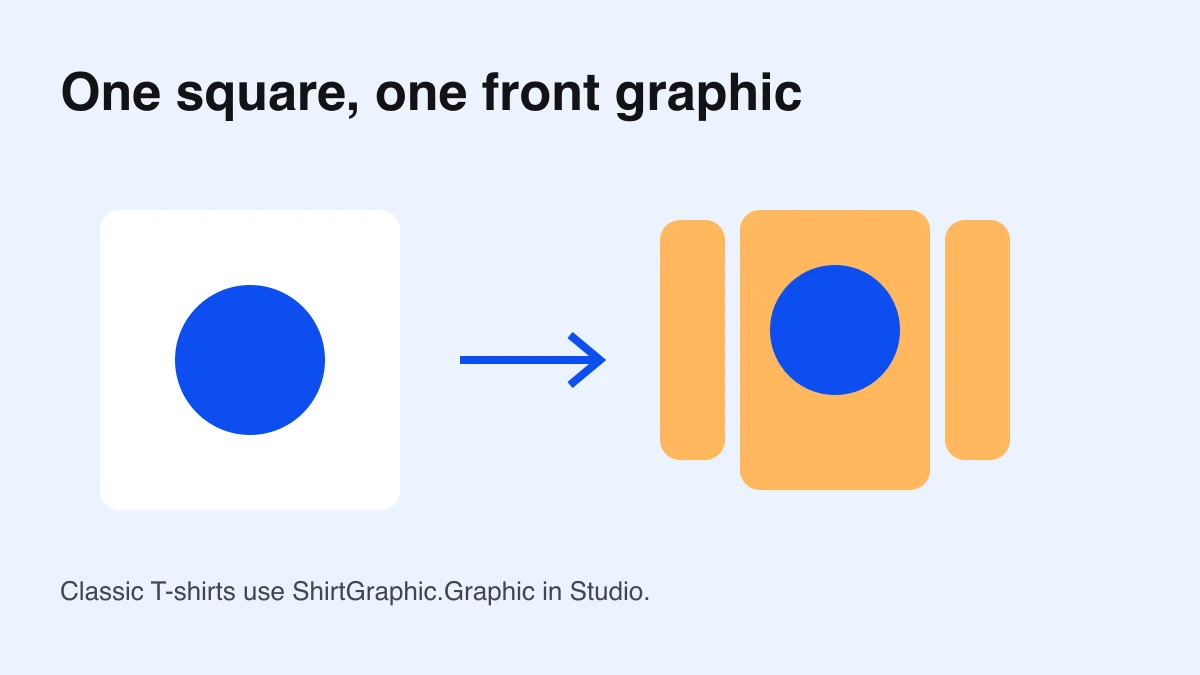
A classic Roblox T-shirt is a square graphic shown on the front torso. Start with a square image such as 512×512 pixels, create one readable design, and test it with a ShirtGraphic object in Studio. For sleeves and a wraparound garment, use the separate classic shirt layout.
Start with a blank square canvas
Download a blank transparent 512×512 PNG. This is an Obby-created empty starter canvas, not an official Roblox panel template. Open it in your image editor and add your artwork on a separate layer.
The file is intentionally empty. If an editor shows a checkerboard, that indicates transparent pixels. Add a temporary colored background while drawing if it helps you see the design, then hide that background before the final transparent export.
Have artwork ready? Use the Roblox T-shirt maker to fit it onto a transparent square, adjust placement, and download a 512×512 PNG locally.
Keep the format distinct from a classic shirt
Roblox’s classic clothing documentation distinguishes the square T-shirt graphic from shirts and pants that wrap around body regions. A classic T-shirt does not use the torso-and-limb panel layout. Choose the intended asset type before preparing the art.
For a first design, create one large central symbol with enough space around it. A tiny label that looks sharp at full editor size may become hard to read on the avatar. Reduce the image on screen to judge the overall shape before adding fine details.
Use transparency deliberately
Draw the symbol on its own layer. Keep a solid outline where it helps contrast, and inspect the edges against both a light and a dark temporary background. Hide those test backgrounds before exporting.
Export PNG when you need transparent regions. JPEG cannot preserve alpha transparency. Reopen the exported image and check it again so you catch an export setting that flattened your work onto white. The transparency guide explains this file check; its wraparound panel advice applies to shirts and pants.
Test with ShirtGraphic in Studio
- Open a test place and use Avatar → Character → Block Avatar.
- Insert a ShirtGraphic beneath the rig.
- Select that object and assign the uploaded image using Graphic.
- Inspect the front torso at normal viewing distance.
- Check the intended supported avatar before publication.
The current official guide documents this workflow. Shirt uses ShirtTemplate and Pants uses PantsTemplate; this square graphic uses ShirtGraphic.Graphic. Some avatar bodies do not support classic clothing, so confirm the body you intend to use.
The classic clothing tester supports wraparound shirts and pants. Use Studio for this T-shirt exercise rather than resizing the square into that tester’s panel format.
Compare two graphic revisions
Save one version with a larger central symbol and one with more surrounding space. Keep the rig, camera, and scene unchanged while comparing them. Write down which version communicates the design more clearly at gameplay distance.
Check the edge of the symbol, any small text, and the contrast against the underlying torso. Fix one issue at a time. Keep the layered source and exported filenames identifiable, such as trail-symbol-v1.png and trail-symbol-v2.png.
Prepare the correct upload type
In Creator Dashboard, use Avatar Items → Classics and select T-Shirt in the upload workflow. Review the current creator requirements, fee, and moderation state before publishing or selling. The creator cost guide separates classic clothing charges from 3D avatar-item budgets.
Record the asset reference and revision after upload. A successful image upload and a successful fit test answer different questions; keep both results in your notes.
Check the final image
- The canvas is square and the symbol is readable at small size.
- Temporary backgrounds and guide marks are hidden.
- Transparent openings remain transparent after export.
- The Studio object is ShirtGraphic and uses Graphic.
- The selected upload asset type is T-Shirt.
If the design needs sleeves, cuffs, or a back panel, return to the classic shirt guide and start from the official wraparound template. Documentation checked October 7, 2026.