Use Roblox’s built-in free camera mode to capture views beyond the normal character camera. During a Studio playtest, press Left Shift + P to toggle freecam. In the live client, this creator feature requires ownership or edit permission for the experience.
Start in the right context
Open your experience in Studio and start a playtest. Activate freecam with the viewport focused. The official free camera guide documents its availability and controls. Activation currently needs a keyboard; once active, keyboard/mouse or gamepad controls are available.
Keep ordinary Studio editor navigation, player camera settings, and creator freecam separate. For this exercise, work in your own playtest and capture a scene you can edit. You can stop and revise the scene without depending on another game’s camera rules.
Move to the shot before fine-tuning
| Action | Control |
|---|---|
| Move | W, A, S, D |
| Up / down | E / Q |
| Pan view | Hold right mouse button and drag |
| Field of view | Mouse wheel |
| Precise movement | Hold Shift while moving |
First find a position that shows the player’s goal. Then refine the angle and framing. Avoid changing position, field of view, and scene composition simultaneously: you want to understand which adjustment made the shot clearer.
Check enhanced controls separately
The current guide’s configuration menu and cinematic post-processing require the upgraded IAS player scripts, enabled through Workspace.PlayerScriptsUseInputActionSystem. Read that section before expecting enhanced controls in an older experience. Test your regular gameplay inputs after an input-system change.
For a first capture, keep the task small: a steady view that explains the game. Additional camera effects can wait until the scene already communicates its purpose.
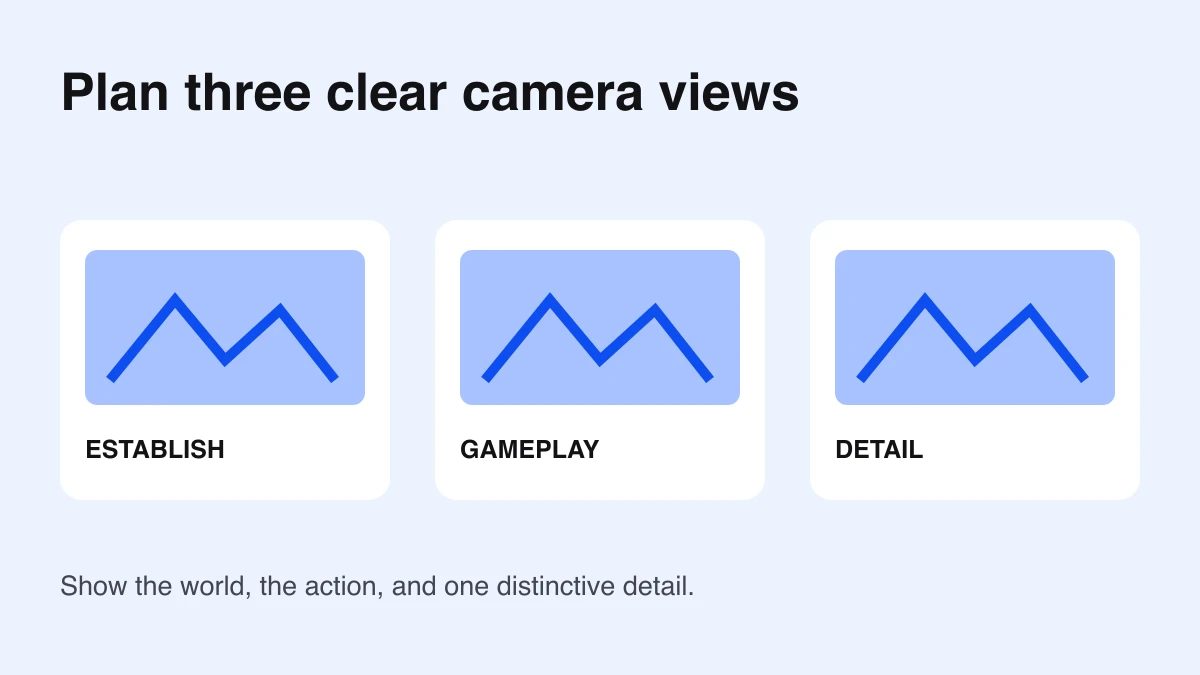
Capture three views of one scene
- Establishing view: show the route, landmark, and destination together.
- Gameplay view: show the key obstacle or interaction at a readable distance.
- Detail view: show one distinctive prop or reward that supports the game’s theme.
For an obby, use a wide view of the first section, a closer view of its most readable obstacle, and a finish-platform detail. Keep the course recognizable across all three. An isolated prop may look attractive but reveal very little about the game.
Name the captures by purpose and revision, such as CourseOverview-v1 or FirstJump-v2. Keep notes about what changed between versions. When reviewing with a collaborator, compare the same shot rather than unrelated camera angles.
Review each frame small
Reduce the screenshot to a thumbnail-sized view. Can you still identify the route and main action? Check the edge of the frame for distracting geometry, unreadable labels, and objects cut in awkward places. Make one scene or camera adjustment, then capture again.
Use the obby thumbnail guide for composition and the game artwork guide for asset preparation. Roblox’s thumbnail documentation describes the publication surface; verify the current upload requirements before exporting your final image.
Return to gameplay and verify the scene
Toggle freecam off and walk through the area normally. Confirm that the screenshot represents a playable moment and that the destination is recognizable from the player’s actual view. A cinematic angle is useful for presentation, while normal playtesting establishes the experience behind it.
If a capture hides a difficult-to-read route, revise the scene rather than relying on the screenshot to imply a clearer game. Use the lighting guide to tune readability with a fixed camera comparison.
If freecam does not activate
Check playtest context, viewport focus, keyboard input, and live-client edit access. For missing enhanced controls, inspect the IAS requirement in the official guide. Keep a note of the exact context and result before changing the game’s camera scripts.
The built-in creator workflow is documented directly by Roblox; start there before adding a custom camera system. Documentation checked October 7, 2026.