Create the badge for the intended experience in Creator Dashboard, then award it from a server-side Script when the player meets its goal. Creating a badge and earning it are separate steps. Start with a simple welcome badge before connecting a reward to a more complex objective.
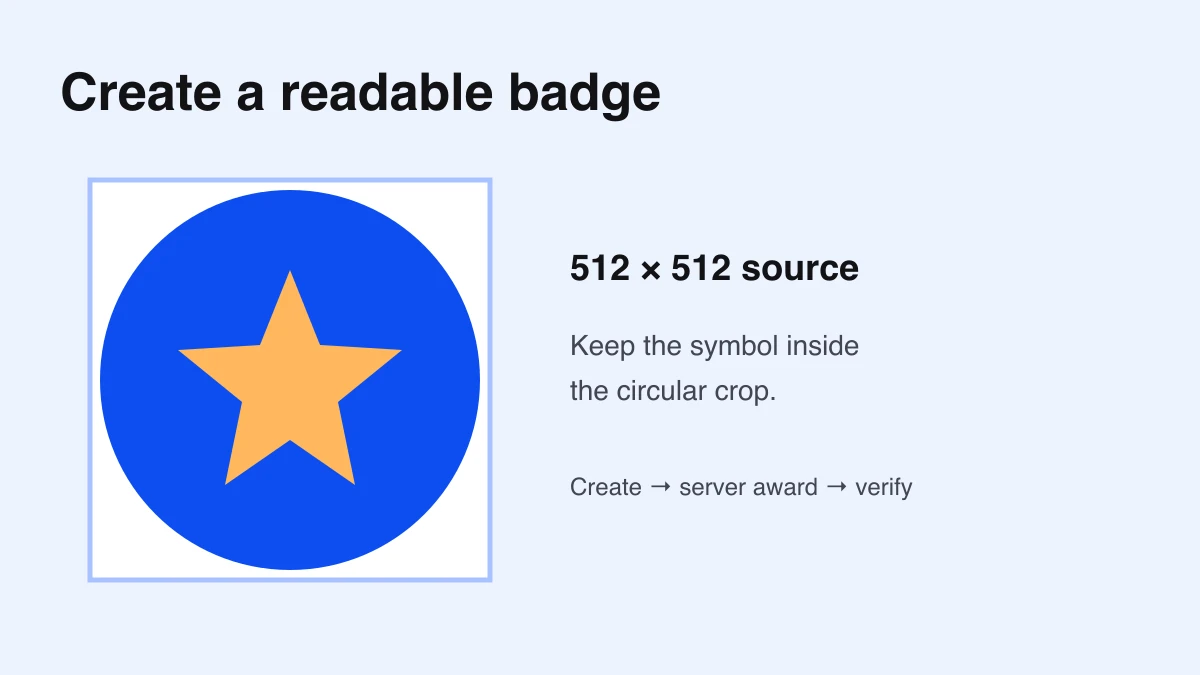
Prepare a circular-safe icon
Use a 512×512 image. Roblox crops the upload into a circle, so keep the important symbol inside that boundary. The official badge guide documents the image and creation workflow.
Choose one readable symbol for the achievement. For a welcome badge, try a doorway or waving hand; for completion, try a finish flag. Preview the design small and check that it still communicates the idea. Keep the editable source so you can revise the art without rebuilding it.
Use the badge icon maker to adjust the crop and export a 512×512 PNG from your artwork locally.
Create the badge for your experience
- Open Creator Dashboard and find the intended game.
- Open its ⋯ menu and choose Create Badge.
- Upload your icon, then enter a clear name and description.
- Review the badge and any charge shown before completing creation.
- Open the badge’s page and record its badge ID.
Current documentation lists five free badge creations per game in a GMT 24-hour period, with additional creations costing 100 Robux. Check the current allowance before making a batch. Keep the badge ID distinct from its image asset ID.
Write the achievement as a concrete rule: “join the experience” or “finish the first course.” The player-facing description should match that rule. For an objective reward, the server needs to verify the objective before awarding it.
Add a welcome-badge server Script
Insert a regular Script in ServerScriptService and replace the zero below with your badge ID. This exercise awards on joining. It does not use a client request or claim that a player completed an objective.
local Players = game:GetService("Players")
local BadgeService = game:GetService("BadgeService")
local BADGE_ID = 0 -- Replace with your experience badge ID
local pending = {}

local function welcome(player)
    if BADGE_ID <= 0 or pending[player] then return end
    pending[player] = true
    local ok, result = pcall(function()
        local info = BadgeService:GetBadgeInfoAsync(BADGE_ID)
        if not info.IsEnabled then return "disabled" end
        if BadgeService:UserHasBadgeAsync(player.UserId, BADGE_ID) then
            return "already owned"
        end
        if player.Parent ~= Players then return "player left" end
        if BadgeService:AwardBadgeAsync(player.UserId, BADGE_ID) then
            return "awarded"
        end
        return "award returned false"
    end)
    pending[player] = nil
    if not ok then
        warn("Welcome badge request failed:", result)
    elseif result == "award returned false" or result == "disabled" then
        warn("Welcome badge:", result)
    end
end

Players.PlayerAdded:Connect(function(player)
    task.spawn(welcome, player)
end)
for _, player in Players:GetPlayers() do
    task.spawn(welcome, player)
end
if BADGE_ID <= 0 then
    warn("Set BADGE_ID before testing the welcome badge")
end
The BadgeService reference documents these async methods. Awards require the player to be connected, the badge to be enabled, and the calling place to belong to the badge’s experience. AwardBadgeAsync returns a boolean; a successful protected call alone is not proof of an award.
The pending table prevents overlapping calls for the same player while a request is running. The ownership check handles a returning player. Failed calls are reported in Output; this minimal exercise leaves retry policy to the game’s design instead of repeatedly sending requests.
Test the badge in its actual experience
- Confirm the badge belongs to the experience you are testing and is enabled.
- Use a player who has not earned it and join the published destination.
- Check the player’s badge inventory and server Output.
- Rejoin with the same player and confirm ownership is handled.
- Review any disabled, false-result, or request-error message.
Test with a fresh eligible player before claiming the award path works. Changing the icon or description does not test the server script. Record the badge ID, experience, player eligibility, and observed result together.
Preparing the experience’s wider presentation? Use the game icon and thumbnail guide for those separate assets; the badge icon above is the achievement image.
Move from welcome to achievement
For a finish badge, call the award function after the server confirms the course completion rule. Define that rule first: the correct course, required checkpoints, and a valid player. Keep the badge ID on the server and avoid accepting arbitrary badge IDs from clients.
Use the course planner to sketch the route, then follow the scripting guide for events and server checks. If another script interferes, inspect it with Find All. Documentation checked October 7, 2026.