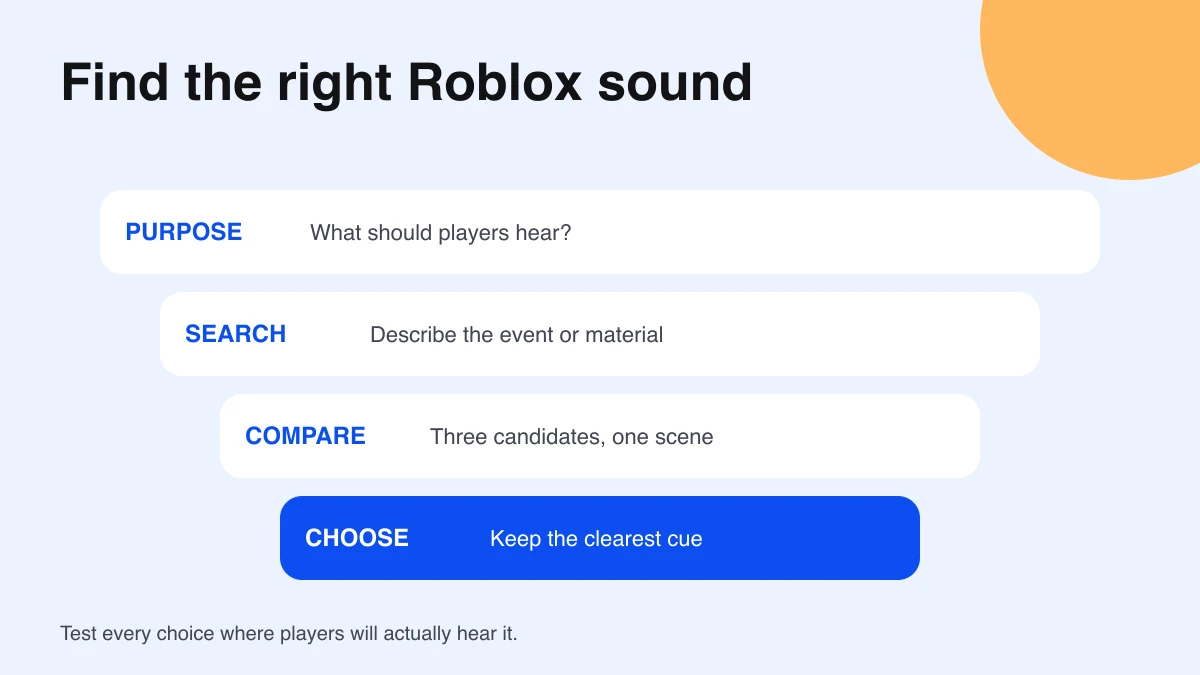
For Roblox game audio, start in Studio’s Toolbox → Creator Store → Audio. Search for the sound’s purpose, narrow the results, then compare a few candidates in the scene where players will hear them. The useful outcome is a sound that communicates the right event clearly.
Open the audio category in Studio
- Open Toolbox from Studio’s Window menu or Home toolbar.
- Select its Creator Store section.
- Choose Audio from the category selector.
- Enter a descriptive search and review the results.
The Toolbox reference documents category selection and advanced filters, including audio file length and creator filters. Inventory, Recent, and Creations are separate Toolbox sections; check which section you are searching when expected results are missing.
The audio asset guide describes free-to-use Creator Store audio for Roblox experiences. Right-click a candidate and choose Copy Asset ID to keep its reference. Clicking an audio result inserts a Sound instance; copying an ID lets you use the asset in your chosen playback setup.
Write a sound brief before searching
Use three fields: the event, the feeling, and the length. For a checkpoint, that might be “progress confirmed, bright, brief.” For a cave, it might be “continuous background, hollow, restrained.” This brief gives you a reason to reject a result that sounds good on its own but does not serve the game.
| Game moment | Brief | Try searching |
|---|---|---|
| Checkpoint reached | Short, cheerful confirmation | Bright chime |
| Door opens | Mechanical movement with a clear ending | Metal door slide |
| Rainy forest | Quiet continuous atmosphere | Gentle rain ambience |
| Round begins | Brief attention cue | Countdown beep |
| Puzzle solved | Distinctive success cue | Soft success flourish |
These are example search phrases, not promised catalog entries. Start with the event or material, then add one useful adjective. If results are sparse, remove the adjective before changing the entire brief.
Compare three candidates, not thirty
Pick three plausible sounds and assign them A, B, and C in a small note. Record their names, creator, asset IDs, and the reason each might fit. Keep the game moment the same while comparing them so you can hear the difference between assets rather than the difference between scenes.
- Listen for a clear beginning: does the cue respond quickly enough?
- Listen to the ending: does it stop cleanly or leave a distracting tail?
- Compare it against background music and nearby effects.
- Repeat the event a few times at a comfortable volume.
- Keep the candidate that remains clear without becoming irritating.
A shop confirmation may occur dozens of times in one session. A dramatic flourish that feels exciting once may become exhausting when repeated. Ambient audio has a different test: spend enough time in the area to notice obvious repetition or an awkward loop boundary.
Keep an asset record you can reuse
Use one line per chosen sound: game event, asset name, creator, ID, intended playback behavior, and test date. Add a short reason for the choice. “Short enough for repeated checkpoint feedback” helps a collaborator understand the decision better than “sounds good.”
For a revision, retain the previous record and mark which candidate replaced it. A numeric ID identifies an asset; it does not describe why that asset belongs in your game. The asset ID parser can extract an ID from a reference, but you still need to inspect the asset type, access, and actual sound in Roblox.
Test the selected audio in the destination game
Use the audio creation and playback guide to understand the modular AudioPlayer → Wire → AudioDeviceOutput path and experience-access checks. Start with one known trigger. After that works, connect the sound to the actual event and test it again.
For a door or machine, decide whether the audio should come from a location in the world. For a UI confirmation, decide whether every player should hear it or only the player interacting. Those decisions belong to playback design; selecting a catalog item alone does not implement them.
Separate preview silence from game silence
If the Toolbox preview is silent, check device output and application volume before replacing the asset. The official Toolbox troubleshooting section specifically notes that Windows users should check whether Microsoft Edge WebView2 is muted in Volume Mixer.
If the preview works but your game is silent, inspect the destination’s playback path, trigger, and Output messages. Keep the same candidate while checking these settings. Replacing the ID at every step can hide whether the original problem was configuration or the asset.
Choose your first small sound set
For an obby prototype, start with three roles: checkpoint confirmation, failure feedback, and completion. Give each a distinct purpose and compare all three against the same background mix. Play through the course rather than testing the cues only in isolation.
Use the obby course planner to describe the moments that need feedback. For a button-driven experience, continue with the GUI tutorial. Create an original cue with the upload guide when the catalog does not fit the brief. Documentation checked October 7, 2026.