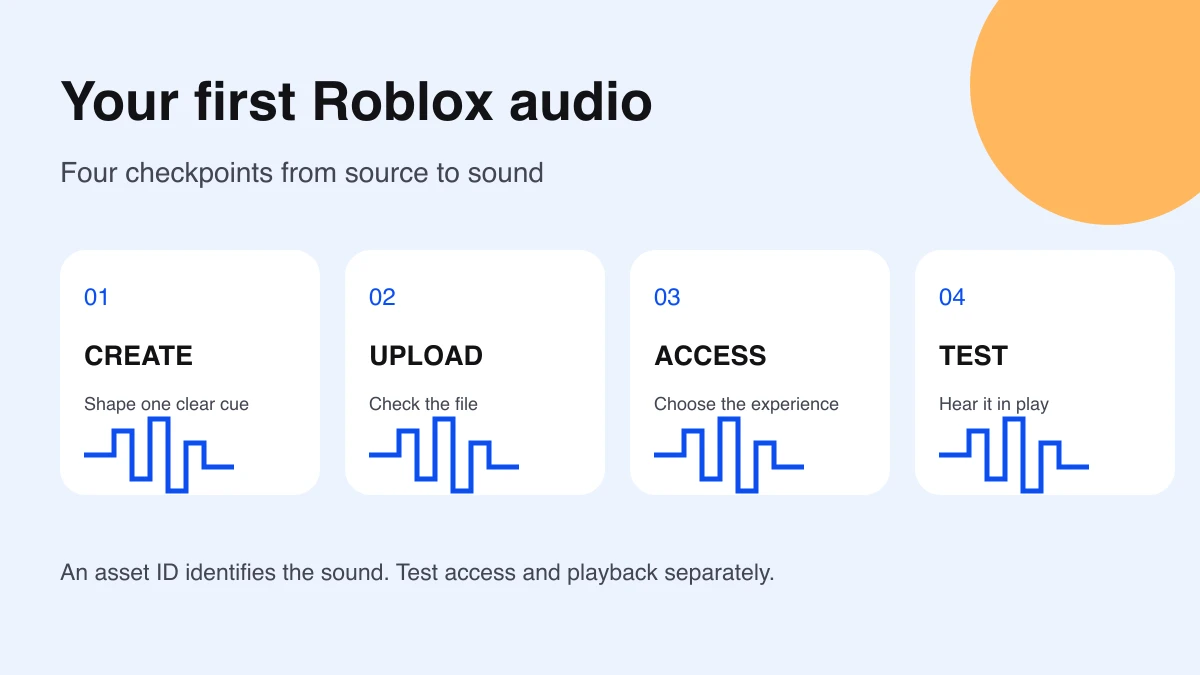
To make audio for Roblox, create or record a sound you have permission to use, export a supported file, upload it, and test it in the intended experience. Keep these four checks separate: the source sounds right, the upload succeeds, the experience can access the asset, and the playback setup actually produces sound.
Prefer an existing cue? Use the Creator Store audio search guide to compare candidates before making your own.
Start with one short sound
For your first exercise, make a two-second confirmation sound for a shop button. Record a small tap or compose a brief original tone in your audio editor. Avoid starting with a long soundtrack: a short cue makes it easier to notice silence, distortion, and repeated playback.
- Listen to the source from beginning to end.
- Trim unnecessary silence so the response feels immediate.
- Leave a small, smooth ending instead of cutting off a waveform abruptly.
- Export a version with a descriptive name such as ShopConfirm-v1.wav.
- Keep the editable project and exported file together.
Write down what should trigger the sound before importing it. “One confirmation after a successful purchase” is a clearer test than “some shop audio.” A failure cue should be distinguishable from the success cue without being startling.
Check the current Roblox audio upload requirements
Roblox’s audio asset documentation lists MP3, OGG, WAV, and FLAC; a single track or stream; a file smaller than 20 MB; duration below seven minutes; and sample rate no higher than 48 kHz. Confirm the supported channel configuration in that reference before exporting surround audio. Use audio you own or are licensed to upload.
The same reference currently lists 100 free imports per 30 days for unverified users and 2,000 for ID-verified users. This is an import allowance, not a promise that an asset will pass moderation. Check the live documentation and your account’s remaining allowance before a large batch.
For this exercise, use a short mono or stereo export and stay comfortably below the size and duration boundaries. Renaming an unsupported file extension does not convert the audio. Export from the editor, then open that exported file locally to confirm you created the intended version.
Upload through Asset Manager
- Open Asset Manager in Studio and choose Import.
- Select the exported audio file and confirm the import.
- Wait for the completed status and green checkmark.
- Record the resulting audio asset ID beside your source filename.
Roblox transcodes imports. If it rejects a file, check the export settings and try a fresh export from an updated audio editor. Wait for moderation before treating the asset as ready for your game.
Keep a small asset record: purpose, local filename, uploaded ID, creator or group, experience, and test result. If you revise the sound later, this record prevents you from testing an older asset accidentally. An upload ID and a local file path serve different purposes.
Give the intended experience access
Restricted audio needs appropriate access. In Creator Dashboard, open Development Items → Audio, select the asset, then Permissions → Experiences → Add experiences. Enter the intended game’s universe ID and finalize the grant. A place ID or audio asset ID is not the universe ID.
The asset permission reference explains creator access versus game access, Output errors, and the grant workflow. Game permission grants are permanent. Review the destination carefully. The general Asset Privacy toggle changes defaults for images, decals, and meshes; it does not change audio’s creation defaults.
For a team project, record the asset owner and experience owner explicitly. A preview that works for the uploader is only one test. Complete the check in the actual destination experience before wiring the sound into a larger system.
Understand the playback path
Current Roblox audio uses a modular path. For non-directional sound, an AudioPlayer produces the stream, a Wire connects it to an AudioDeviceOutput, and the output delivers it to the player’s speakers or headphones. The audio object guide now recommends these objects over Sound, SoundGroup, and SoundEffect for their broader functionality.
- Under SoundService, create AudioPlayer, AudioDeviceOutput, and Wire.
- Set the AudioPlayer’s AssetID to your uploaded audio reference.
- Set Wire.SourceInstance to that AudioPlayer and Wire.TargetInstance to the AudioDeviceOutput.
- Leave Looping off for a one-shot confirmation cue and choose a modest Volume.
- Trigger the wired player with Play() from your intended script or interaction.
Choose the trigger script from the linked official guide’s Add 2D audio tutorial. Test that trigger with your short cue before connecting it to the full shop interaction. Positional world audio needs an emitter and listener setup, so prove a simple non-directional cue first.
Run a three-pass acceptance check
| Pass | Action | Expected result |
|---|---|---|
| Source | Play the exported file locally | Correct cue, clear ending, no unwanted silence |
| Experience | Test the wired player in the intended game | Audible cue; no access or loading error in Output |
| Interaction | Repeat the intended gameplay action | One cue at the right moment, without accidental looping |
Test at a comfortable device volume. Then compare the cue against the game’s background music. If the confirmation disappears, adjust the mix rather than pushing every sound louder. Stop and restart the play session to check that the result does not depend on an earlier test state.
Diagnose the stage that failed
- Local export sounds wrong: return to the audio editor and inspect that export.
- Import fails: compare file format, size, duration, and export settings with current requirements.
- Permission error: inspect the asset owner and destination universe grant.
- Playback is silent: check the player’s asset reference, volume, Wire endpoints, and trigger.
- Sound repeats unexpectedly: inspect Looping and repeated event calls.
- Wrong revision plays: compare the ID against your asset record.
Change one setting at a time and write down the result. Use Find All in Studio when competing scripts trigger or replace audio. Continue with the GUI tutorial when building the button that starts the cue, or the scripting tutorial for event handling. Documentation checked October 6, 2026.