To make a private server on Roblox, open an experience that supports the feature, find its Servers section, and choose Create Private Server. Name it, review the offer and any recurring charge, then complete the confirmation shown by Roblox. Configure access before inviting your group.
First, choose which task you mean
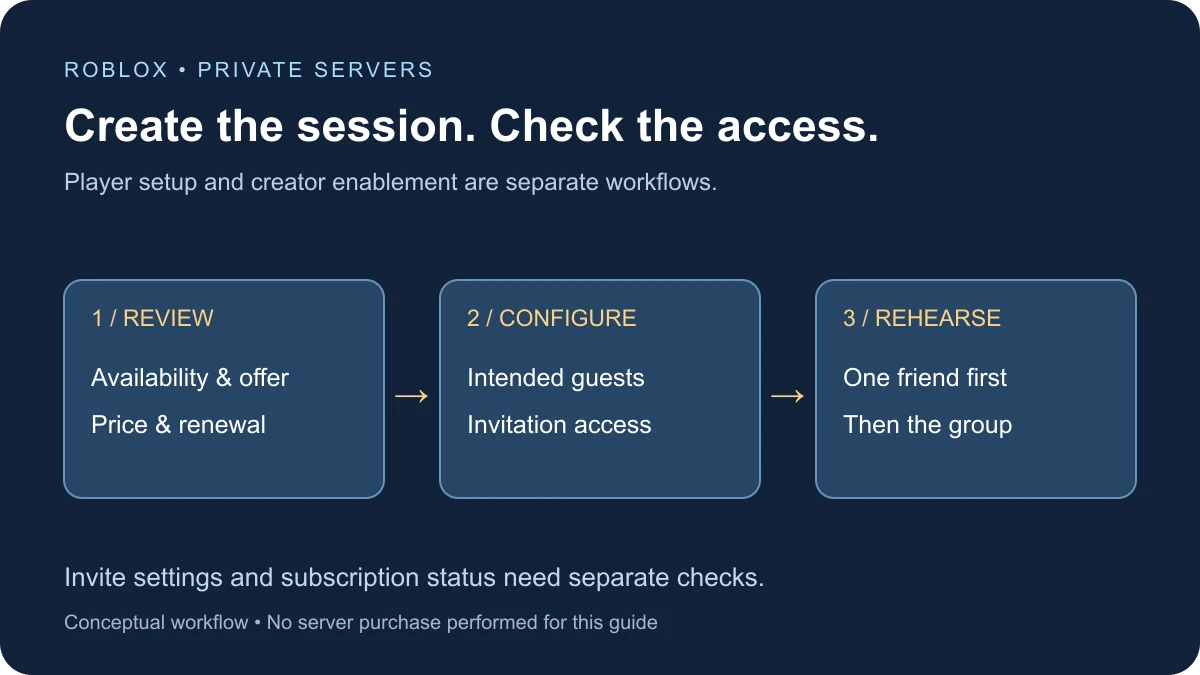
A player creating a private session in someone else’s experience is doing a different job from a developer enabling private servers for their own game. Start with the player steps below. The creator setup appears later on this page.
Making the whole experience private is also a separate access decision. You do not need to create a new Studio project just to play an existing supported experience with a selected group.
Create a private server as a player
The Roblox Private / VIP Servers FAQ documents this workflow on the app or website:
- Open the intended experience page and find Servers.
- Look for its Private Servers section. Availability depends on the creator enabling the feature.
- Choose Create Private Server and enter a recognizable name.
- Read the displayed terms, price, and renewal information before completing the confirmation.
- Open the server’s three-dot menu and choose Configure to review access.
Use the exact experience you intend to play. Similar titles and copied names can lead to the wrong page. A useful server name describes the group or activity, such as a weekend practice session, without exposing private contact details.
Read the offer before confirming
Roblox’s creator documentation says private servers can be free or carry a monthly Robux price. It also describes paid-private-server access for Roblox Plus subscribers. Check the offer and applicable account benefits shown in your session rather than assuming every server has the same cost.
For a paid subscription, note both the displayed charge and renewal date. Do not treat the creation button as proof of a one-time purchase. The support FAQ explains that renewal can draw from the Robux balance automatically; review the configuration page when managing an existing server.
A simple planning question helps: is this a one-off gathering or a group that will return regularly? Decide that before confirming so the subscription arrangement fits the activity.
Configure the group, then test one invitation
Roblox’s support FAQ describes individual-user access, a friends-list option, and server links in Configure. Account privacy and parental settings can restrict participation. A link alone does not establish that every invited account is eligible to join.
For a first test, have one intended participant try the invitation before sending it to the whole group. Confirm that they reached the expected experience and server. If they cannot join, record the actual error instead of repeatedly creating new servers.
Keep an invitation link with the people you intend to invite. Before sharing screenshots of the setup, check whether the image exposes that link or other account information. This is especially useful when organizing a public event with a smaller private practice group.
What to check when creation or joining fails
| Symptom | Check first | Useful next observation |
|---|---|---|
| No creation option | Correct experience and feature availability | Whether a Private Servers section exists |
| Creation error | The exact message and existing server list | Whether Roblox reports a limit or another account condition |
| An invite does not work | Server access plus account privacy | The invited account’s actual error |
| Wrong group appears | Experience and selected server | The server name and invitation destination |
| A charge is unexpected | Subscription status and renewal information | Which server and date the configuration shows |
The FAQ notes that free-server limits can cause creation errors. Inspect your existing servers and the message Roblox displays before deactivating anything. A limit problem and an invitation problem require different fixes.
This guide does not provide a workaround for access restrictions or a promise that a particular console follows the same invitation interface. If you are testing another platform, verify the join path on that actual device.
Manage renewal separately from invitations
Changing who can join is not the same as canceling renewal. Roblox’s FAQ provides cancellation through the server menu or configuration page and explains that paid access continues until the listed expiration after cancellation.
After making a renewal change, read the resulting status and dates. Save the confirmation for your own records. Do not infer that leaving a server, closing Roblox, or removing an invite canceled a subscription.
If you own the experience, enable the feature first
The creator workflow requires a public game. In Creator Dashboard, open the game, go to Audience → Access Settings, enable Allow private servers, choose the free or Requires Robux configuration, and save.
The creator documentation says paid access and private servers cannot be enabled together. It also warns that changing a private-server price cancels active subscriptions. Review an existing game’s setup before altering its price; a creator-side change can affect current subscribers.
For a new game, first test whether the feature appears on its public experience page, then run a small invitation test. Those observations prove more than merely seeing a saved dashboard toggle. For the publishing stage, use the Roblox publishing guide.
Plan the session around the game’s actual behavior
A controlled guest list does not tell you how the experience handles rounds, saved progress, resource collection, or rewards. Ask your group to test the activity you actually plan: starting a round, returning after a disconnect, or recording a scene without an unexpected reset.
Write down the minimum successful rehearsal. For a four-person event, that might be all four joining the intended server, completing one round, and returning successfully. For a recording session, it might be checking the camera positions and game-state reset before anyone begins a long take.
If you are designing a game, make the private-session behavior understandable to players rather than relying on the feature’s name. The Roblox monetization guide covers the broader product decisions around paid features.
Official workflows reviewed November 17, 2026. No private server was created, purchased, canceled, or reconfigured for this article.
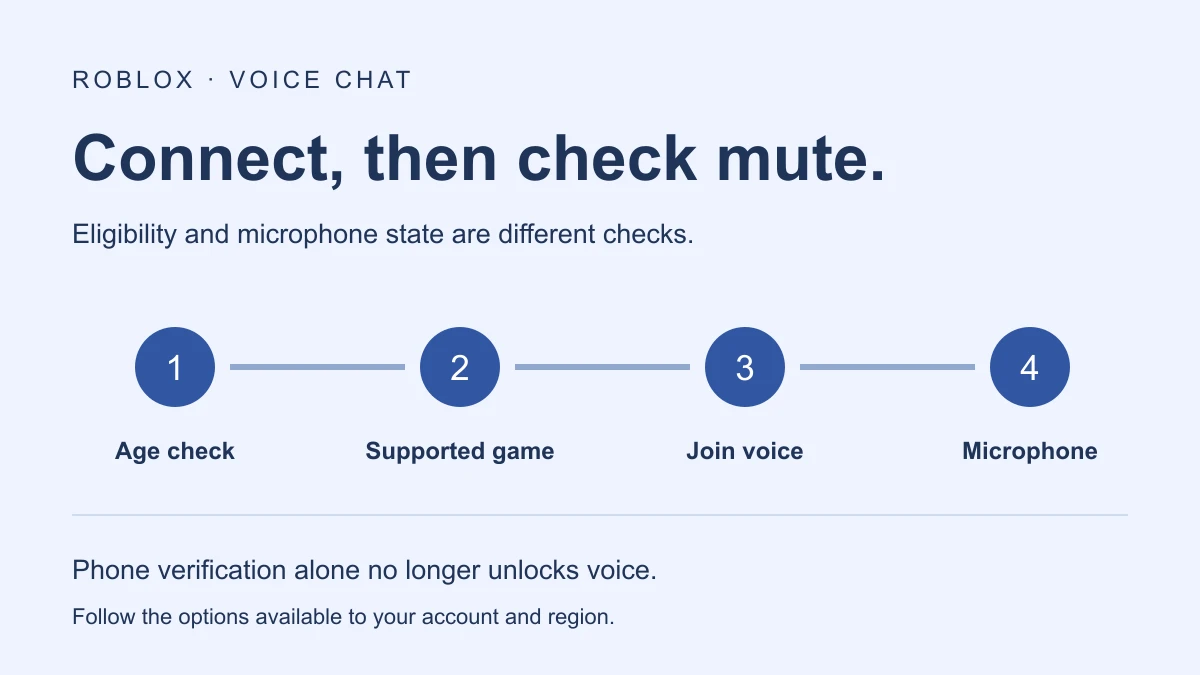
A private server does not override voice eligibility or make every experience voice-enabled. For current age-check and connection controls, use the Roblox voice chat guide.
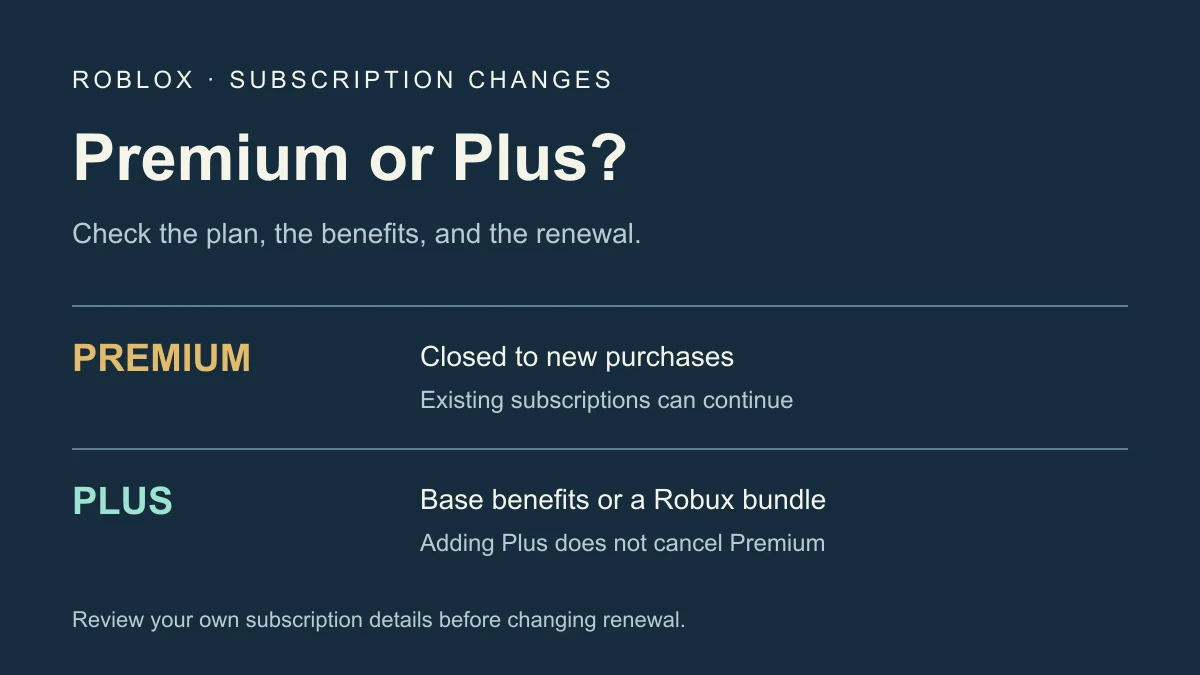
The current Plus benefit is one free private server per supported game, not the original launch promise of unlimited servers. See the Premium and Plus comparison for plan distinctions and separate renewal management.