Can you make a Roblox game for free?
Yes. You can download Roblox Studio, build a game, write Luau, and test it without paying. Studio is officially available for Windows and macOS, and a zero-budget project can use your own parts, scripts, audio, and images. Public publishing has account and audience eligibility rules, so “free to create” does not mean every account can immediately publish to every audience with no requirements.
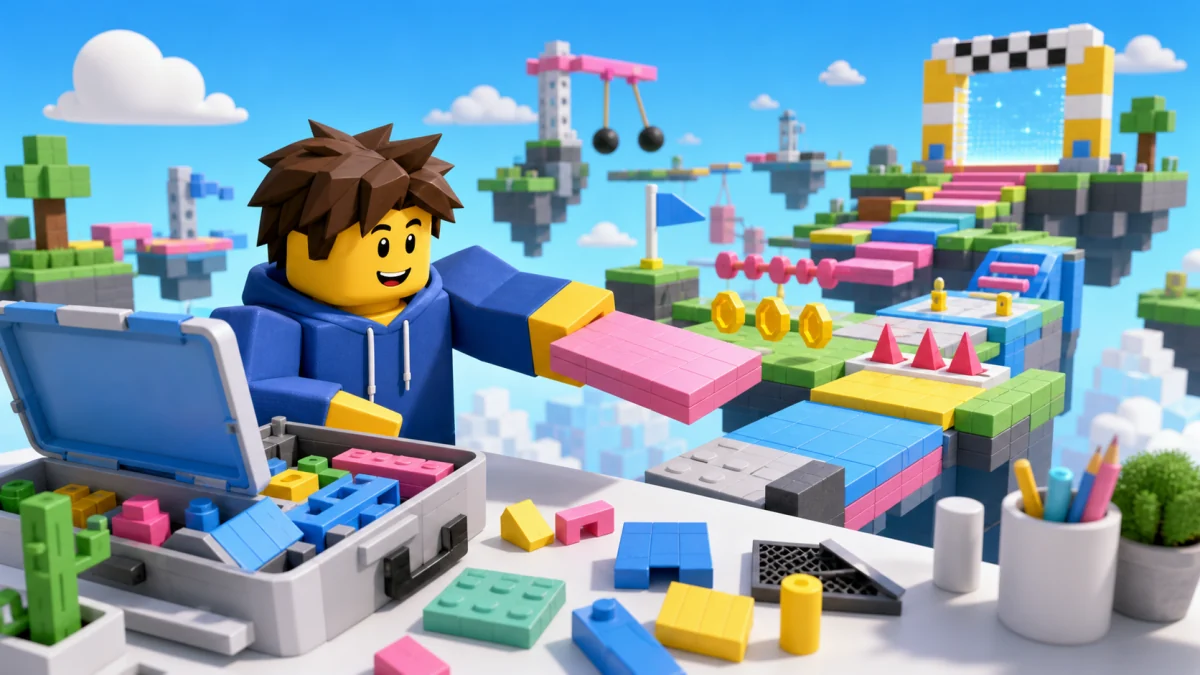
If you want to validate the idea before opening Studio, Obby's browser builder lets you describe a 3D obby, play it as it appears, and revise it through chat. Product access can change, so check the current offer before assuming any third-party tool is permanently free. The guaranteed no-cost path in this guide uses Roblox Studio itself.
What is free and what may cost money?
| Part of the workflow | Can be free? | Important detail |
|---|---|---|
| Roblox Studio | Yes | Roblox provides Studio for supported Windows and macOS computers |
| Building and Luau scripting | Yes | Parts, terrain, scripts, local tests, and collaboration tools do not require paid development software |
| Assets | Yes | Create your own or use permitted Creator Store assets; inspect rights, quality, performance, and embedded scripts |
| Private or personal testing | Yes | Account standing and current access rules still apply |
| Broad public publishing | Sometimes | Roblox applies identity, safety, questionnaire, account-history, and eligibility conditions that vary by audience |
| Advertising | No, if used | Paid acquisition is optional and should wait until the first session retains the right players |
| Freelancers or premium tools | No, if used | They can save time but are not required for a first game |
Check Roblox's current Studio setup guide before installing. For release access, use the official publishing requirements; screenshots and old videos can become inaccurate when eligibility rules change.
The zero-budget tool stack
- Roblox Studio: world building, Luau, local multiplayer tests, device emulation, debugging, and publishing.
- A plain-text notes file: the core loop, test cases, release log, and bugs. Project clarity matters more than paid planning software.
- Git or a backup copy: preserve known-good scripts and places before large changes.
- Your own simple assets: block geometry, generated gradients, recorded sounds you own, and original UI avoid hidden licensing problems.
- Roblox documentation: use current API and publishing guidance instead of copying old snippets blindly.
Do not buy plugins because a tutorial says they are mandatory. Begin with Studio's built-in tools and pay only when you can name the exact bottleneck a product solves.
Step 1: choose a game that fits a free week
A no-budget project is constrained more by time than money. Pick a concept one person can finish:
- A five-stage obstacle course with checkpoints
- A timed route that records a personal best
- A small arena with one round rule
- A scavenger hunt with ten original collectibles
Write a strict “not in version one” list. Pets, trading, clans, procedural maps, inventories, rebirth economies, and large quest systems multiply testing work even when the software costs nothing.
Step 2: build the core loop with basic parts
- Open a baseplate or appropriate built-in template.
- Create the spawn, first action, goal, failure state, and finish before decorating.
- Anchor static geometry and test collisions as soon as parts are placed.
- Use color and shape consistently so players recognize hazards and checkpoints.
- Play the full loop after each section is added.
The step-by-step Roblox game guide covers Studio setup and a complete beginner build. If you are specifically making an obstacle course, use the Roblox obby maker workflow to compare browser prototyping with manual Studio construction.
Step 3: add only the Luau the loop needs
Learn scripts in project order, not textbook order. A first obby may need a hazard, checkpoint, finish trigger, timer, and saved stage. That teaches events, functions, services, tables, server authority, and persistence through a real outcome.
- Keep health, rewards, purchases, and saved progress authoritative on the server.
- Use LocalScripts for input, camera, and presentation—not trusted rewards.
- Read errors in Output instead of repeatedly changing code at random.
- Ask AI to explain every generated function and where the script belongs.
For focused practice, follow the beginner Luau tutorial. If you use generated code, the Roblox AI script generator guide shows how to request context and security checks.
Step 4: use free assets without importing a problem
“Free” does not automatically mean safe, efficient, original, or permitted for every use. Before keeping a Creator Store model:
- Inspect every descendant in Explorer.
- Remove scripts you do not understand.
- Check part count, textures, meshes, collisions, and performance.
- Confirm the asset's current usage terms and source.
- Restyle it so the finished game has a coherent visual identity.
Simple original geometry is often better for a first release. It loads predictably, teaches you the editor, and avoids a game that looks like disconnected toolbox imports.
Step 5: test without spending on players
Recruit a few relevant testers rather than buying broad traffic. Give them one sentence—“play until you want to stop”—and do not coach them. Record where they hesitate, fail unexpectedly, ignore UI, or quit.
| Test | What it reveals |
|---|---|
| Fresh account or first-time player | Onboarding assumptions and missing explanations |
| Server & Clients | Multiplayer state, remotes, race conditions, and replication |
| Mobile emulation or device | Touch controls, text size, camera, and UI overlap |
| Slow network or weaker device | Loading order, asset weight, and performance problems |
| Leave and rejoin | Checkpoint and saved-progress reliability |
Step 6: understand publishing before launch day
Roblox separates creating, saving, testing, and publishing to an audience. As of September 1, 2026, personal-use access and broader audience access have different requirements. Age checks, identity verification, two-step verification, content maturity and compliance questionnaires, account standing, purchase history, subscription status, and other eligibility paths can matter depending on the audience.
Do not design around a remembered rule. Open the official publishing page from the account that will own the experience, confirm the current requirements, and complete the required safety information before promising a release date. You can still build and test the project while resolving access.
A seven-day free build schedule
- Day 1: define the loop and build the gray-box start-to-finish path.
- Day 2: add failure, respawn, checkpoints, and finish feedback.
- Day 3: add one progression signal such as stage or personal best.
- Day 4: test multiplayer behavior and client/server trust boundaries.
- Day 5: test a small screen, improve clarity, and remove heavy or unused assets.
- Day 6: observe new testers and fix the highest-impact confusion.
- Day 7: prepare truthful metadata, verify publishing eligibility, and release to the appropriate audience.
Where spending can make sense later
Spend only after a finished free prototype identifies a real constraint. You might pay for a specialist when a security-critical economy exceeds your skill, an original art commission when visual identity limits conversion, or controlled promotion when retention data proves the right players enjoy the first session. A purchase should remove a measured bottleneck—not substitute for finishing the game.
The fastest zero-budget advantage is a tight feedback loop: build something small, play it immediately, fix what breaks, and repeat.