Getting Started with Roblox Studio
Roblox Studio is the free tool used to create every Roblox game. If you've never opened it before, this tutorial will take you from zero to your first published game in about 30 minutes.
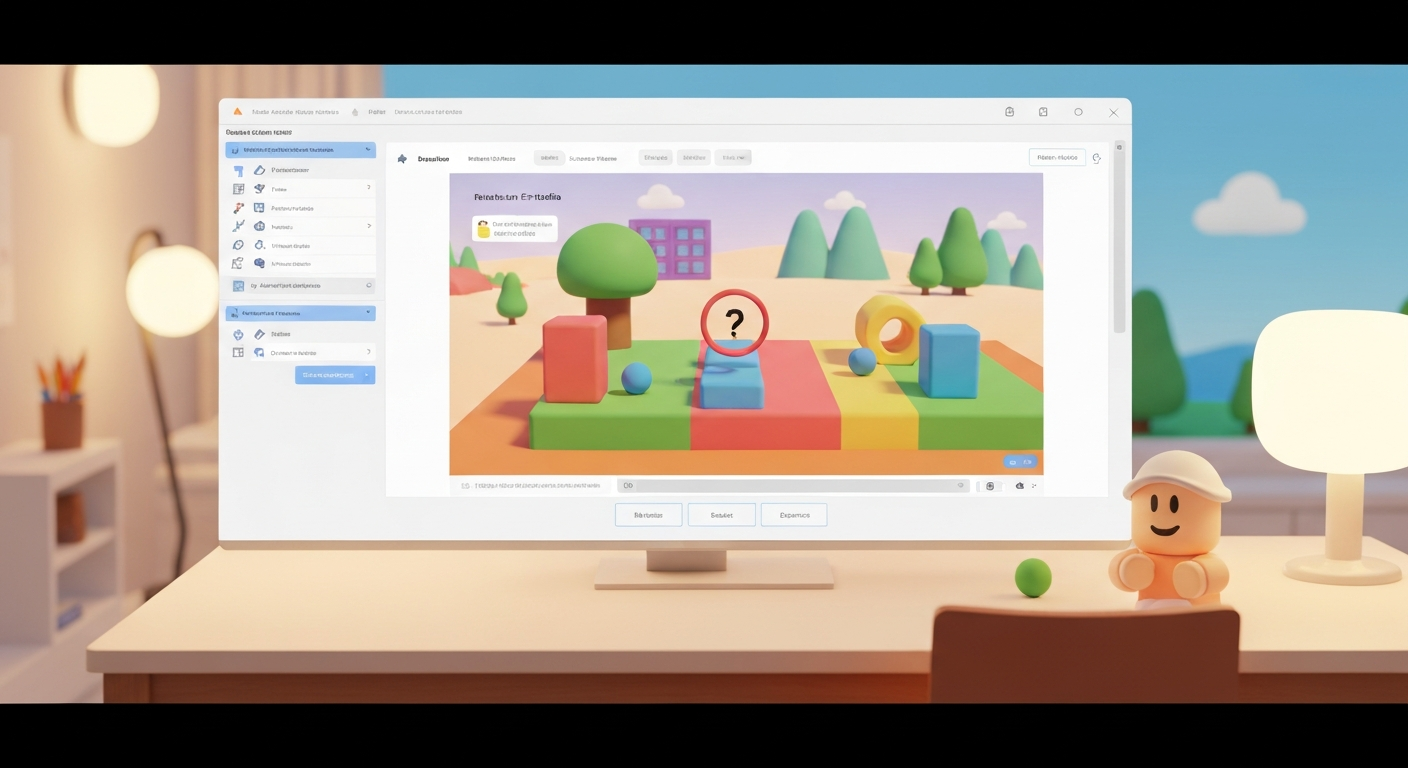
Alternatively, if you want to skip the manual building and generate a game with AI instead, try Obby — describe your game in plain English and it does the rest.
Step 1: Download and Install Roblox Studio
- Go to create.roblox.com and sign in with your Roblox account
- Click "Start Creating" — Roblox Studio will download automatically
- Open it and you'll see the template selection screen
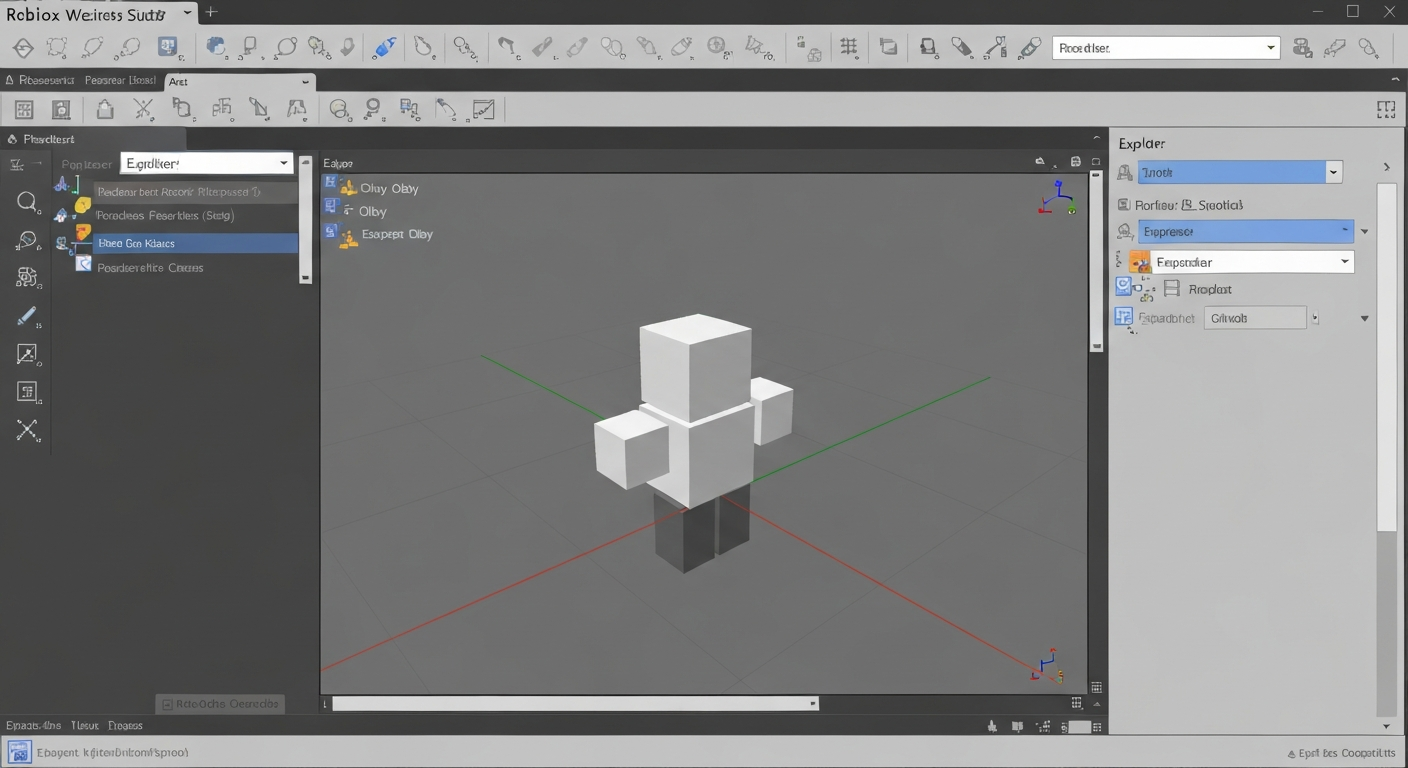
Step 2: Understanding the Interface
Roblox Studio has several key panels:
- Viewport: The 3D view where you see your game world
- Explorer: Shows every object in your game (right side)
- Properties: Edit selected object settings (right side, below Explorer)
- Toolbox: Free models, plugins, and assets you can drag in
- Output: Shows errors and print messages from scripts
Step 3: Basic Building
Start with a Baseplate template. Here's how to build:
- Add parts: Model tab → Part → click to place a block in the world
- Move: Select the Move tool (or press
Ctrl+2) and drag arrows - Scale: Use the Scale tool (
Ctrl+4) to resize parts - Rotate: Rotate tool (
Ctrl+3) to angle parts - Color: Select a part → Properties → Color → pick a color
- Material: Properties → Material → choose wood, metal, neon, etc.
Step 4: Your First Script
Scripting brings your game to life. Here's a simple kill brick script:
- Add a Part and color it red
- Right-click the part in Explorer → Insert Object → Script
- Replace the code with:
script.Parent.Touched:Connect(function(hit)
  local humanoid = hit.Parent:FindFirstChild("Humanoid")
  if humanoid then
    humanoid.Health = 0
  end
end)
Press Play to test — when a player touches the red part, they die!
Step 5: Add a SpawnLocation
Players need a place to start and respawn:
- Model tab → Spawn → click to place a SpawnLocation
- Players will appear here when they join or die
Step 6: Test Your Game
- Press F5 (or the Play button) to test
- Your character spawns and you can play your game
- Press F5 again to stop testing
- Check the Output panel for any error messages
Step 7: Publish Your Game
- File → Publish to Roblox
- Enter a name and description
- Set the genre and max players
- Click "Create" to publish
- Go to your game page to play and share it!
For a detailed publishing walkthrough, see our publishing guide.
The Faster Alternative: Build with AI
Roblox Studio is powerful but has a learning curve. If you want to build games faster, Obby lets you create complete Roblox games just by describing them. It generates the scripts, 3D scenes, and exports a ready-to-publish .rbxlx file.


