Why Obbies Are the Best First Roblox Game to Build
Obbies (obstacle courses) are one of the most popular game types on Roblox, with millions of plays daily. They're also the easiest type of game to create — making them perfect for beginners. Whether you want to make an obby in Roblox for fun or to start earning Robux, this guide walks you through every step.
The best part? You don't need any coding experience. With tools like Obby, you can describe your obby in plain English and have AI generate the entire game for you — obstacles, checkpoints, and all.
What You Need to Get Started
There are two ways to make an obby in Roblox:
- Roblox Studio — the traditional approach. Download it for free, drag and drop parts, and build manually.
- Obby (AI Builder) — describe your obby and get a complete game generated in seconds. Try it free.
This guide covers both approaches so you can choose what works best for you.
Step 1: Plan Your Obby Layout
Before building, sketch out your obby's structure:
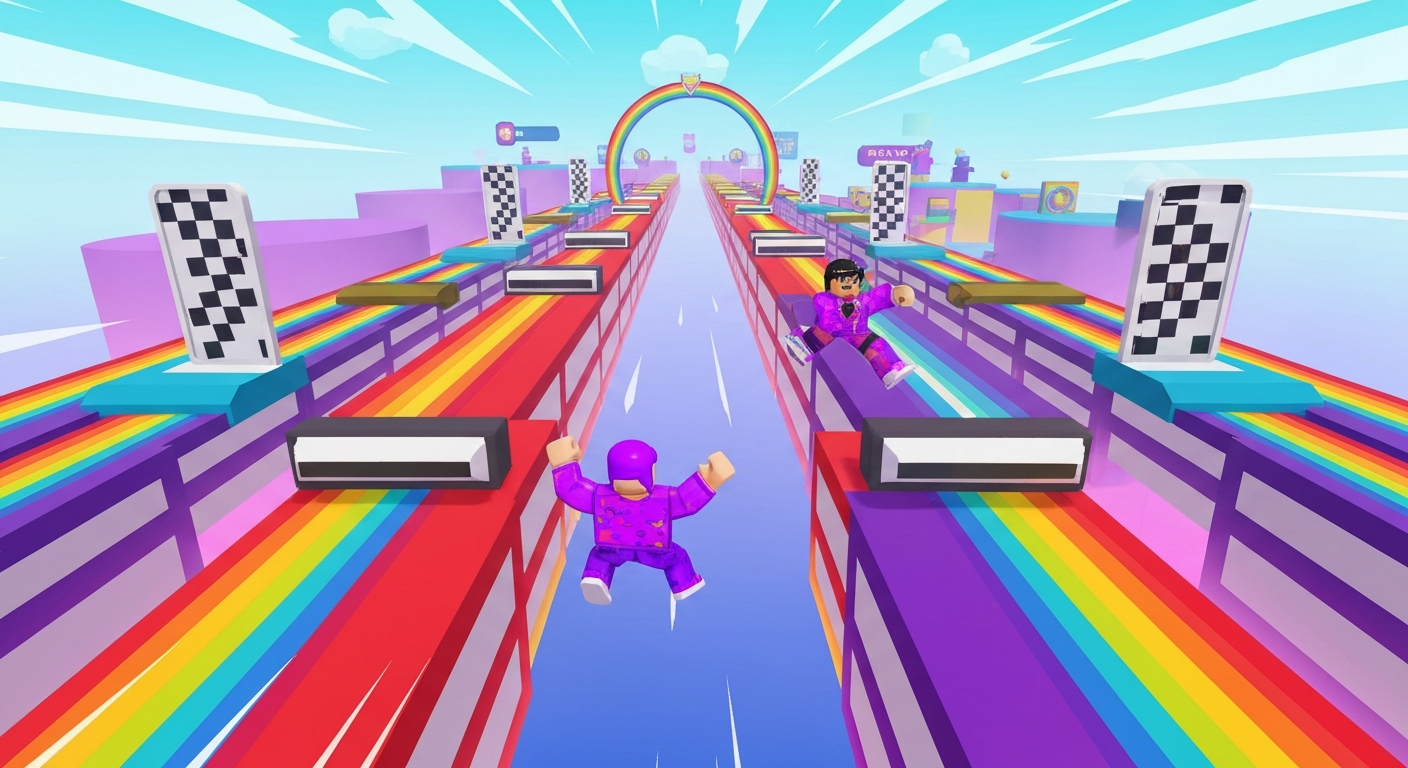
- Theme: Lava, sky, underwater, space, rainbow — pick a visual theme
- Difficulty curve: Start easy, get harder. Most obbies have 20-50 stages
- Checkpoint spacing: Place checkpoints every 3-5 obstacles to reduce frustration
- Special obstacles: Moving platforms, disappearing blocks, rotating beams, kill bricks
Step 2: Create Your Baseplate and Starting Area
In Roblox Studio, start with a new baseplate template. Delete the default baseplate and create a spawn area:
- Add a
SpawnLocationwhere players start - Build a small platform as the beginning area
- Add a sign or GUI explaining the obby
Or with Obby's AI builder, just type: "Create a rainbow-themed obby with 30 stages, moving platforms, and checkpoints every 5 stages" — and it generates everything.
Step 3: Build Obstacles
The core of any obby is its obstacles. Here are the most popular types:
Basic Obstacles
- Platform jumps: Gaps between platforms that require precise jumping
- Thin walkways: Narrow paths that test balance
- Kill bricks: Red bricks that reset the player on touch
- Wall jumps: Walls close together that players must jump between
Advanced Obstacles
- Moving platforms: Use
TweenServiceto make platforms slide back and forth - Disappearing blocks: Platforms that vanish after being touched
- Rotating beams: Spinning kill parts that players must dodge
- Speed boosts: Zones that change the player's WalkSpeed
Step 4: Add Checkpoints
Checkpoints save the player's progress so they don't restart from the beginning when they die. Here's how to set them up:
- Add
SpawnLocationparts at regular intervals - Set
AllowTeamChangeOnTouchto true - Create a Team for each checkpoint and assign the corresponding SpawnLocation
- Space checkpoints every 3-5 obstacles for the best player experience
Step 5: Add Visual Polish
Make your obby stand out with:
- Color coding: Green = safe, red = danger, blue = moving
- Lighting effects: Neon materials, PointLights, bloom effects
- Particles: Sparkles on checkpoints, fire on kill bricks
- Music: Add background audio with a Sound object in Workspace
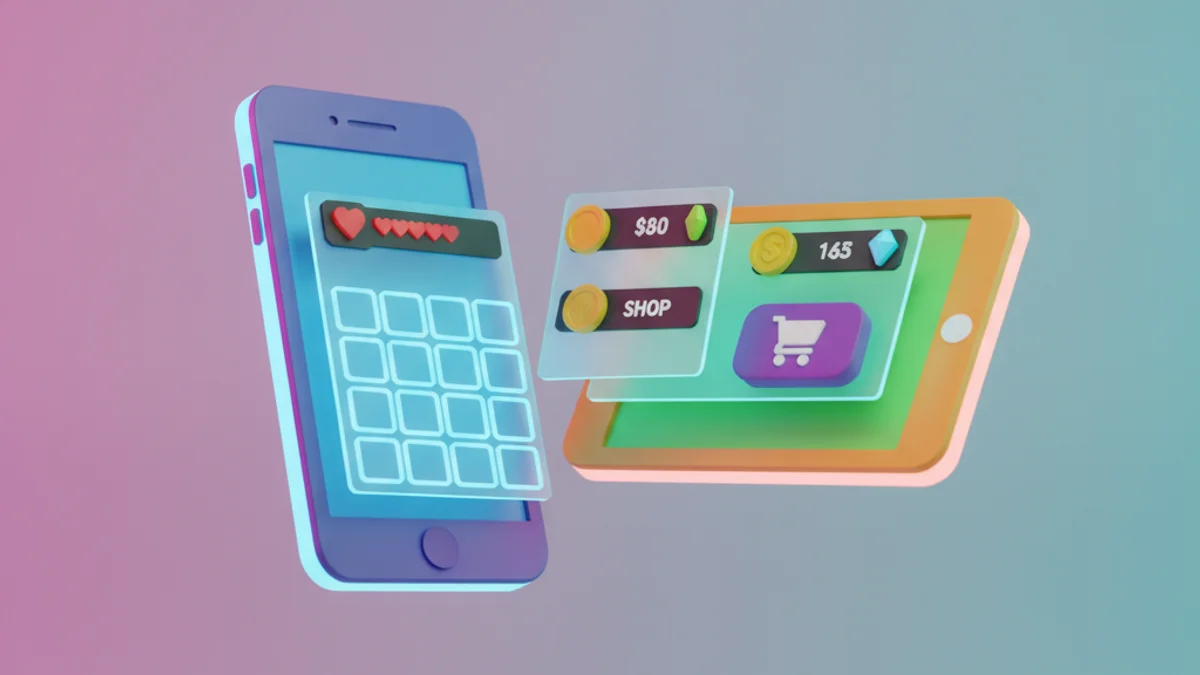
Step 6: Add Monetization (Optional)
Want to earn Robux from your obby? Add these monetization features:
- Skip stage game pass: Let players pay to skip hard stages
- Speed boost game pass: Permanent WalkSpeed increase
- VIP area: Exclusive shortcut or bonus area
- Gravity coil: A paid item that makes jumping easier
Learn more in our game pass creation guide.
Step 7: Test and Publish
Before publishing:
- Playtest every stage — make sure all jumps are possible
- Check that checkpoints work correctly
- Test on mobile (many Roblox players are on phones)
- Create an eye-catching thumbnail and icon
Then publish to Roblox and share with the world! See our publishing guide for details.
The Fastest Way: Use AI to Make Your Obby
If you want to skip the manual building process, Obby lets you create a complete obby by just describing it. Type what you want, preview it in 3D, and export to Roblox Studio. It handles obstacles, checkpoints, theming, and Luau code automatically.